3D Printing Adventures
30 days with the Bambu A1
I have always been interested in 3D printing but over the years it just seemed like more work than fun. Thankfully, this year, that equation changed, and I stumbled upon BambuLab, the Apple of 3D printers. Basically, these guys make 3D printers that anyone can use. It is as easy as finding something to print and taping on the print button. Obviously, there is a little more to that, but that basically is it.
BambuLabs have a marketplace called MarkerWorld where people from around the world can submit their designs and, as users, we can print for free. That's right, FOR FREE. MakerWorld is impressive and hosts hundreds of thousands of other people’s design that others can not only print for free but also make tweaks, tailor or enhance said designs. All this resulting in a wonderful 3D printing community centred around the needs of average users globally. And, did I mention, that there is an app for that on Android and iOS, it is aptly named Bambu Handy.
Why 3D Printing?
As a hobby, it is very rewarding and mind-blowing. Printing awesome things in your garage within a couple of hours is nothing short of a miracle for me. Simple things like printing a coaster or a phone mount within a couple of hours. The icing on the cake is that this is no commercial product. This product is consumer-focused. This means it is easy to use, resulting in a fun and whimsical user experience.
My 3D Printing Setup
Thanks to capitalism, 3D printing is relatively inexpensive at least compared to a decade ago.
First, you need a printer. I bought the BambuLab A1 with AMS. Without the AMS, I can only print one colour and with the AMS, I can print up to 4 colours effortlessly. The printer with the AMS cost me AUD730.
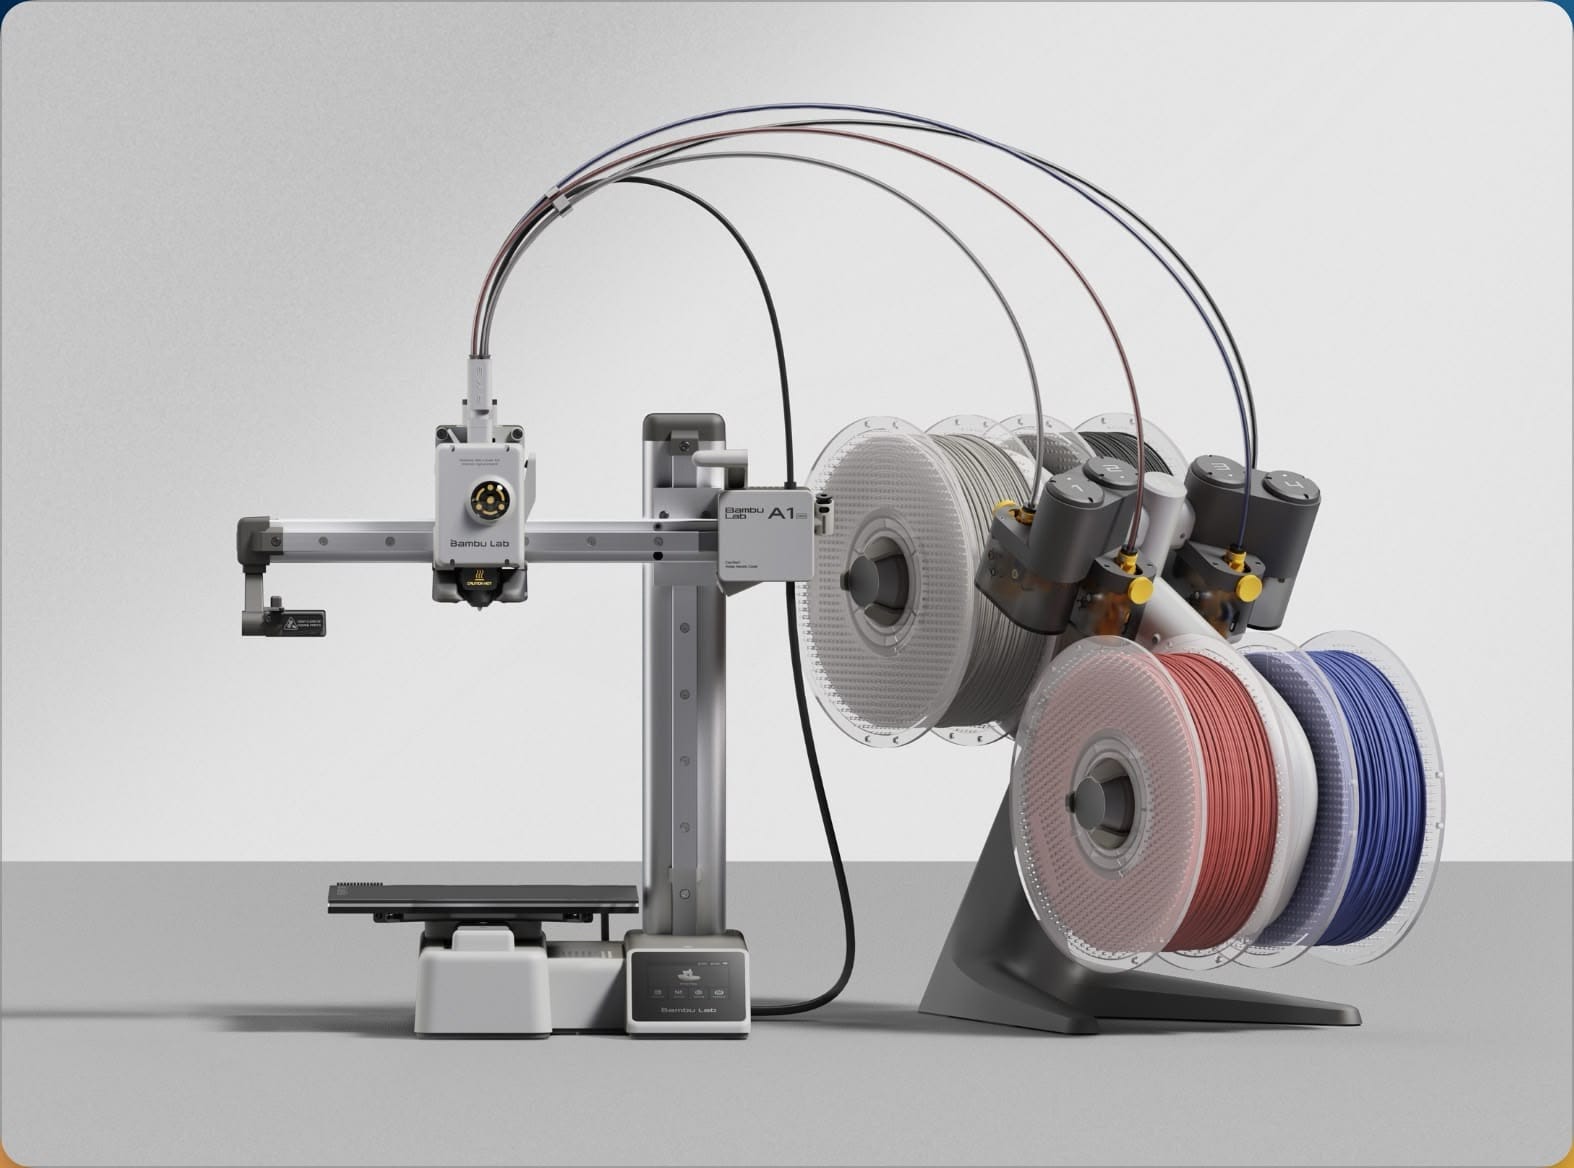
Besides the printer, you also need filament, which is basically the material used for printing. Think of it as ink for your traditional printer. It comes in many colours and multiple types of material for various use cases. For example, if you want something that can withstand the heat, you want to use PETG. I mostly use PLA which is the most common type of 3D printer material. 1KG of will roughly cost AUD25. Thus far, I have bought almost 6KG which includes multiple colours.
The world of 3D printing is huge but thus far, I have mainly limited myself to printing things designed by others. I am trying to taking a practical approach where I only print things that I need or I find amusing or both.
Let’s get practical: what did I print?
Addons and accessories that improve/enhance my 3D printer
The 3D community has spent a lot of time creating addons and accessories that meaningfully improve my 3D printer, the Bambulab A1. This is a good starting point where you feel good printing things that are improving the product you just purchase. My Dad suggested an alternative idea: why couldn't Bambulab use their own 3D printers to include these addons from the beginning? He makes a good point, he almost always does. He also has a way of cutting through BS and telling it how he sees it. I am hoping, with age, my system also gets updated to enable this feature set.
Did you know that 3D printers poop?
Because I didn’t.
When I first heard of it, I thought it was a joke. But, it is dead serious and as such, the 3D community has shared literally hundreds of designs to keep the 3D printer poop problem at bay.
Anyway, the following is the solution I am using with my 3D Printer
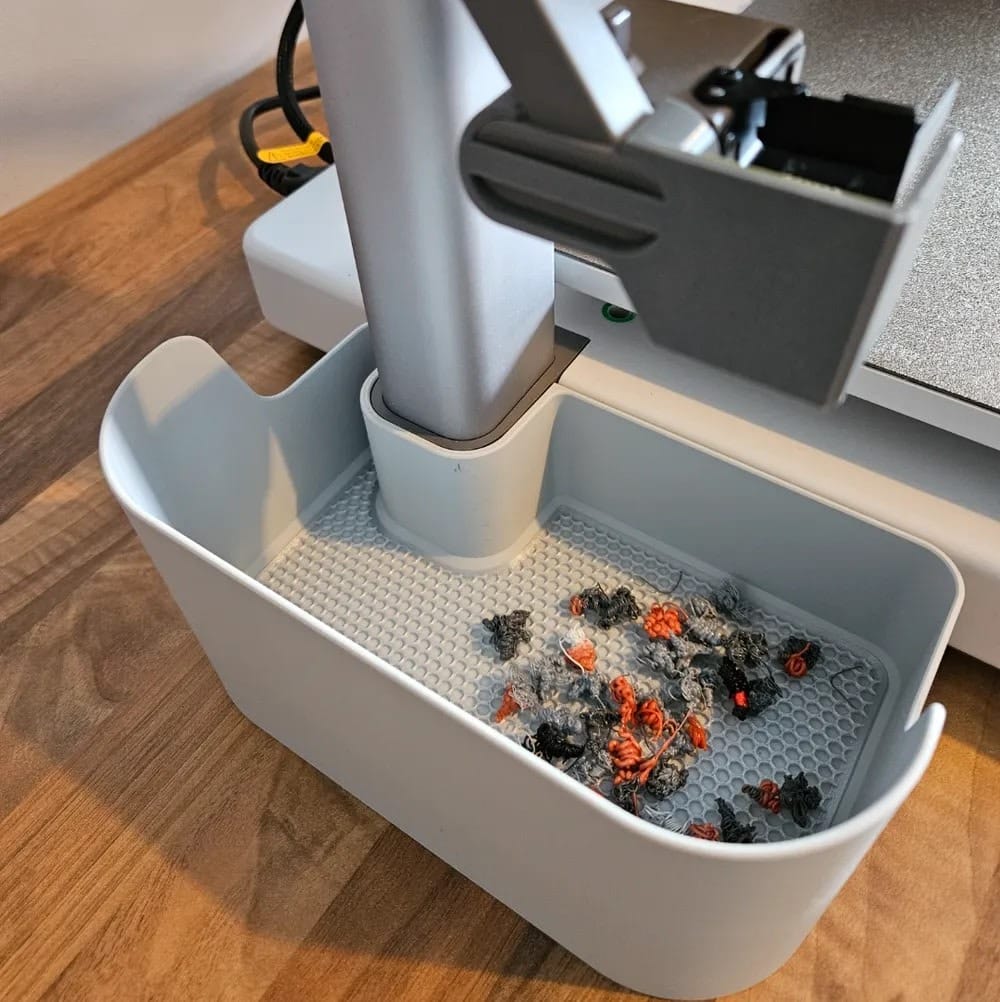
Link: A1 Purge Waste Bin and Deflector
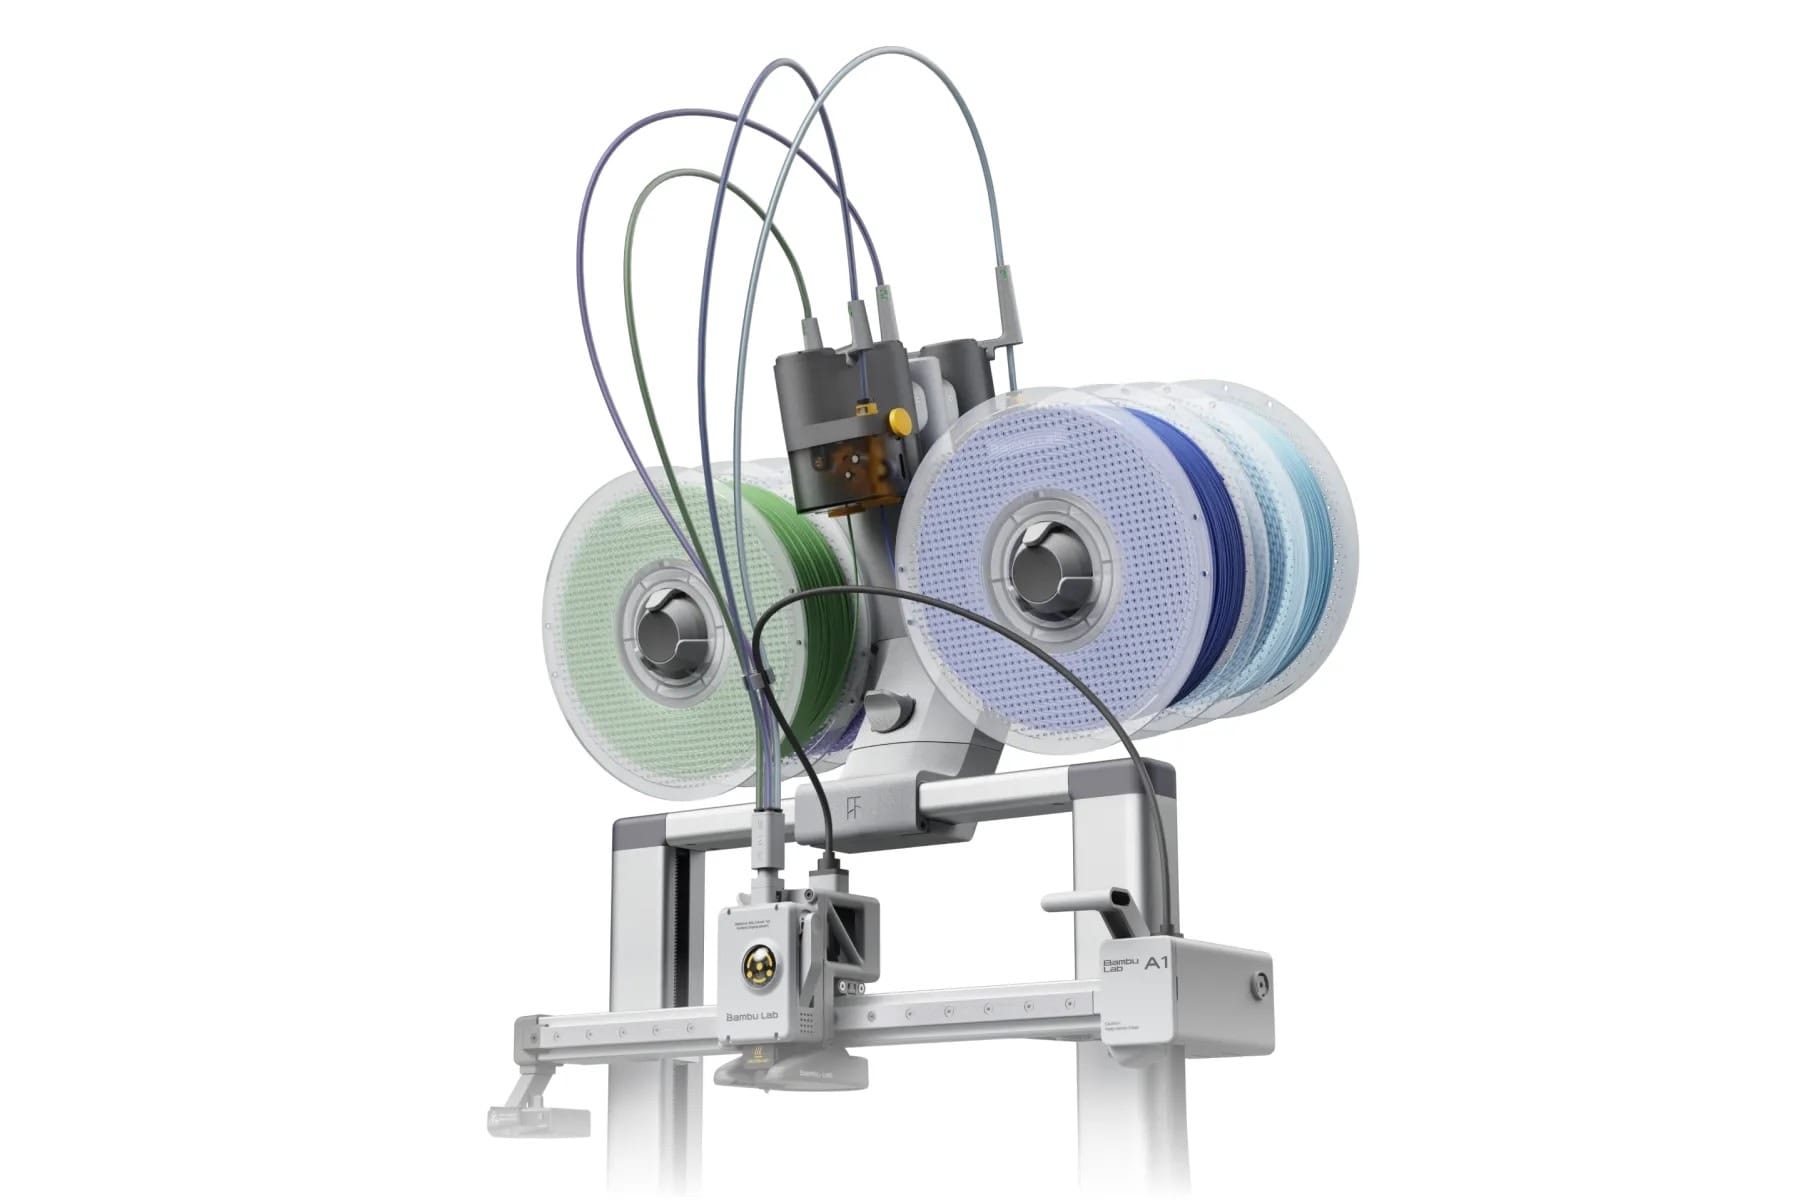
The next print is literally a space saver. Out of the box, AMS is designed to sit next to the 3D printer, but it takes a lot of horizontal space. The AMS lite Top Mount for A1 addon mounts the AMS on the top, utilising vertical space. I only printed this because it is an official BambuLab design.
Coasters
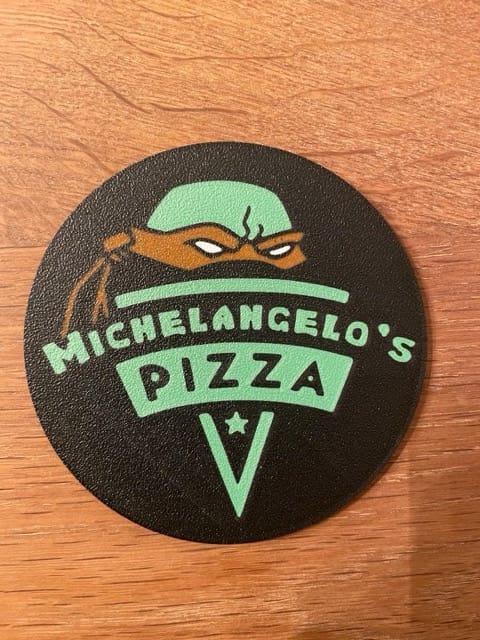
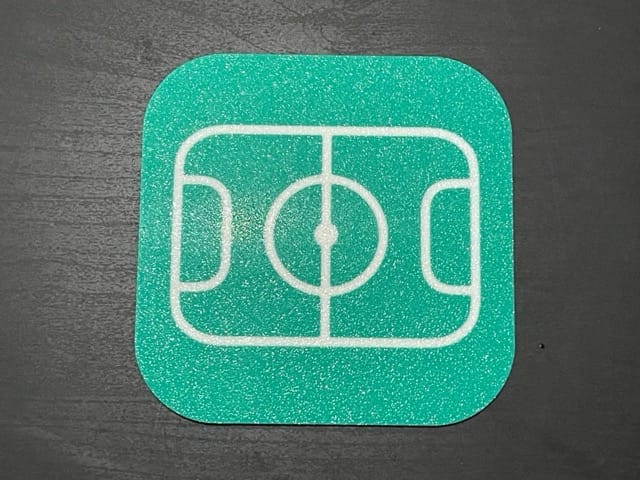
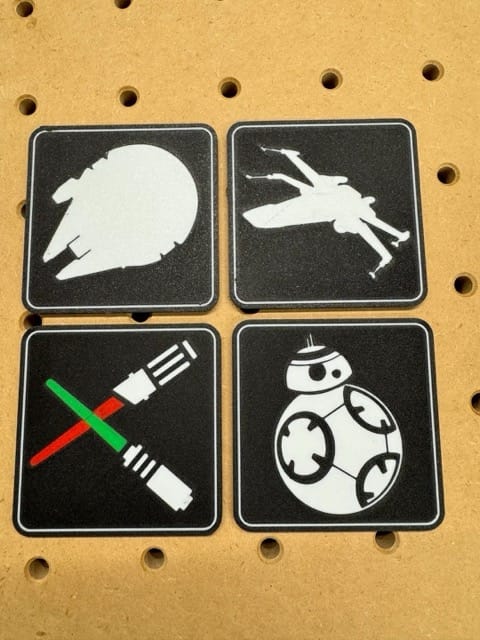
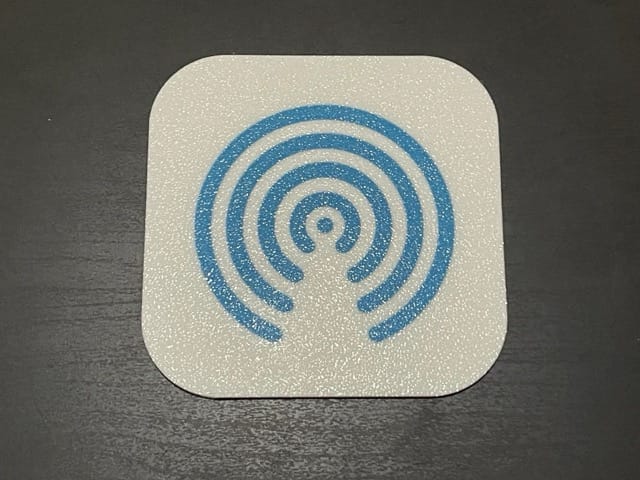
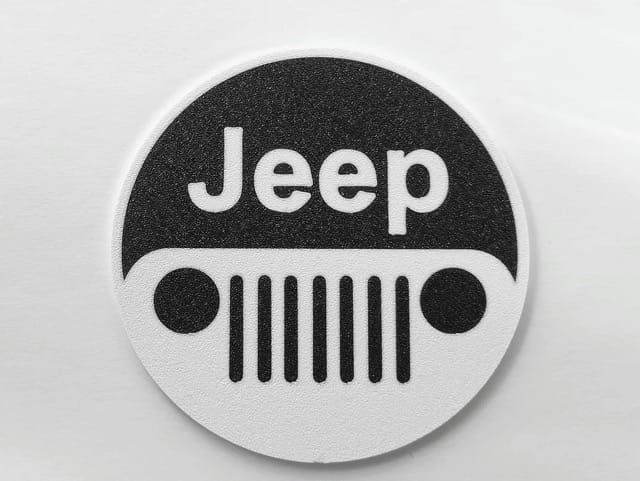
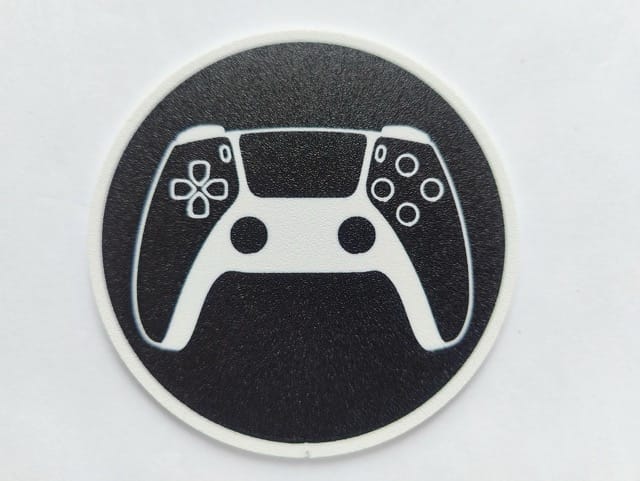
I also printed many coasters because why not? Here is a gallery of some prints I made. I am a huge Star Wars and Teenage Mutant Ninja Turtle fan. Also, there is something wonderful in having iOS app icons as coasters.
Christmas decorations:
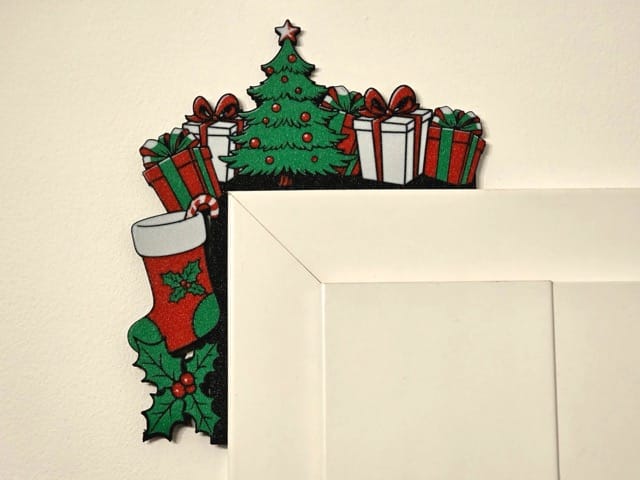
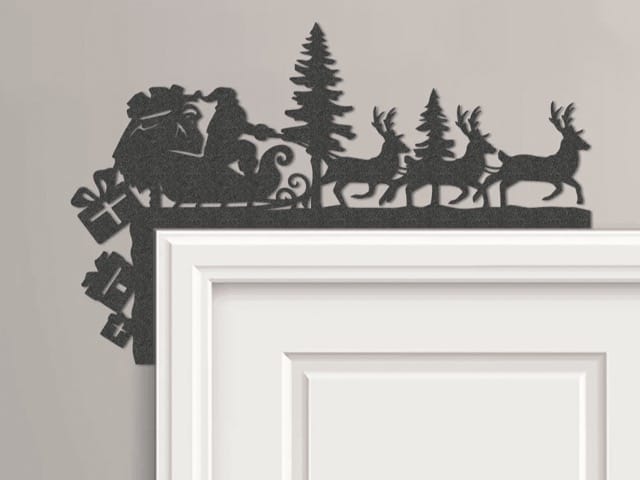
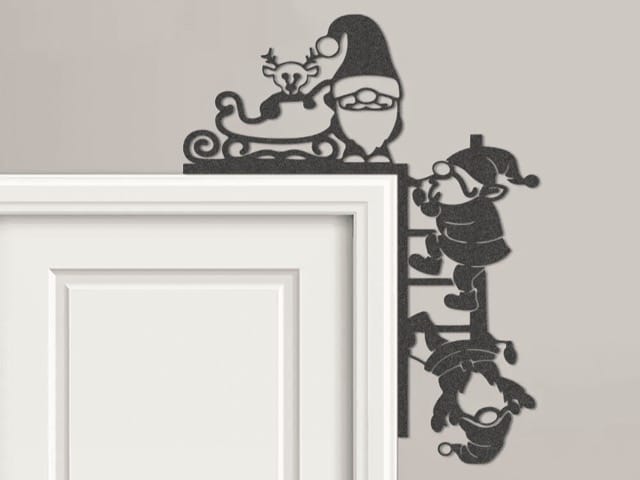
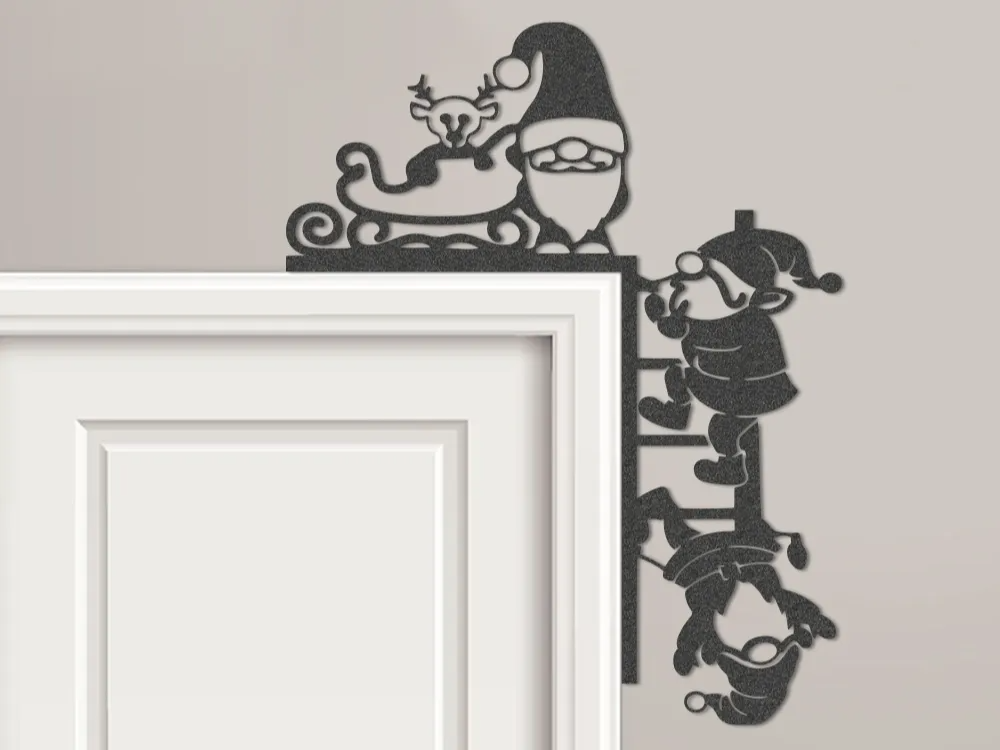
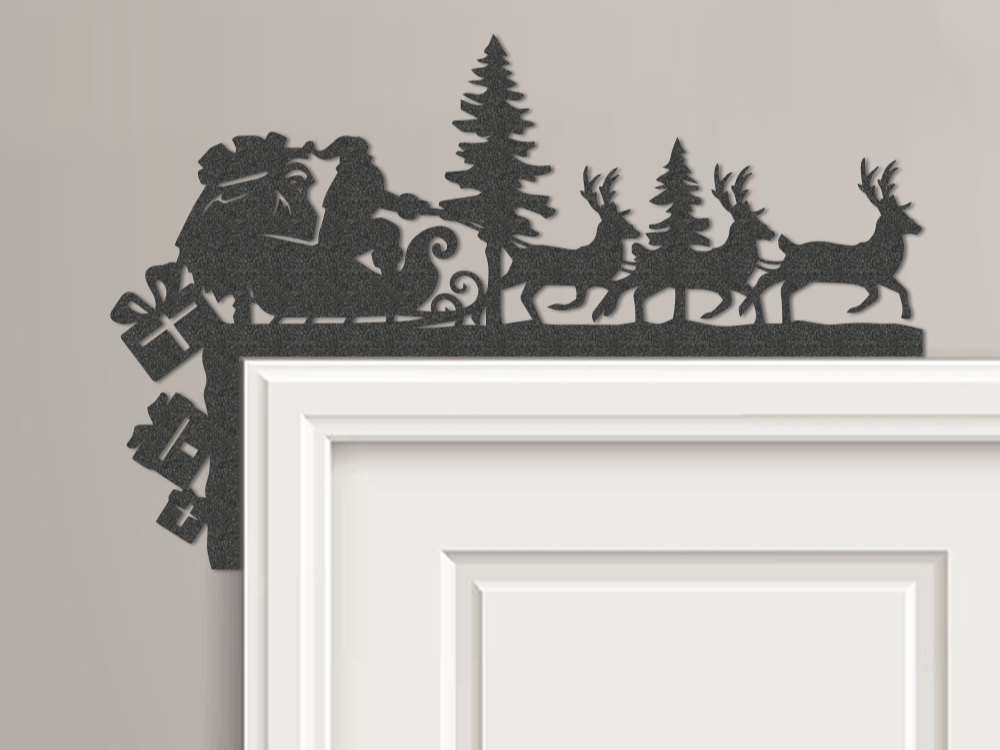
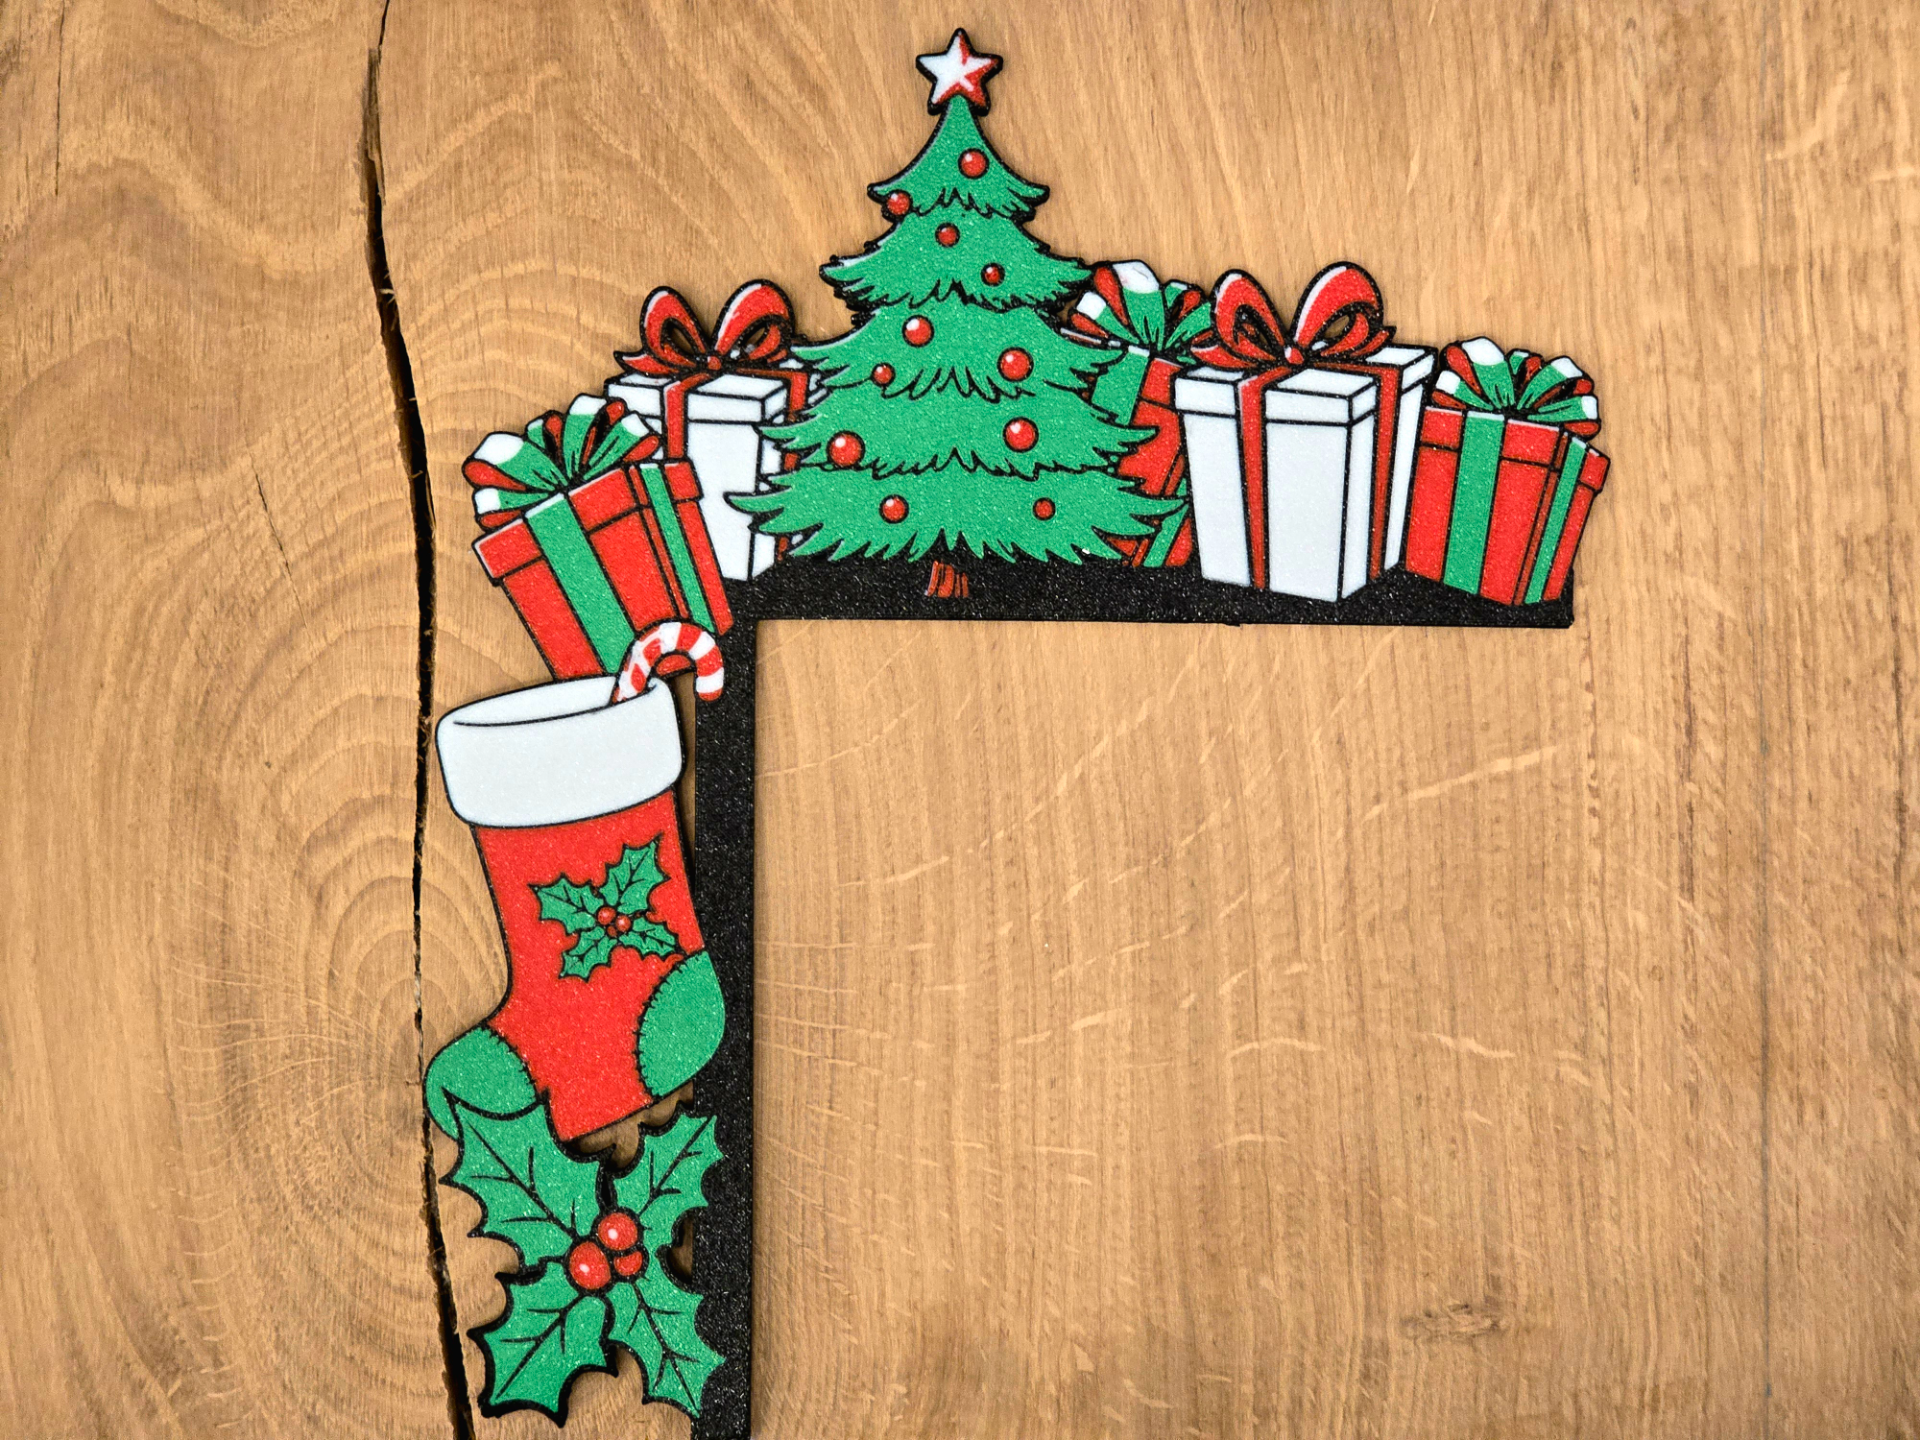
I am probably not the most festive guy but it made my wife and son happy so I printed a few things. These are quick to print and super easy to install. It just sits on door corners so it can easily be removed after use.
Links:
Office accessories
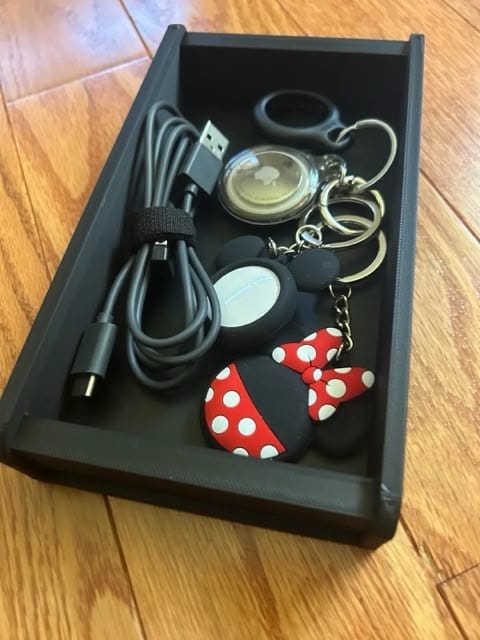
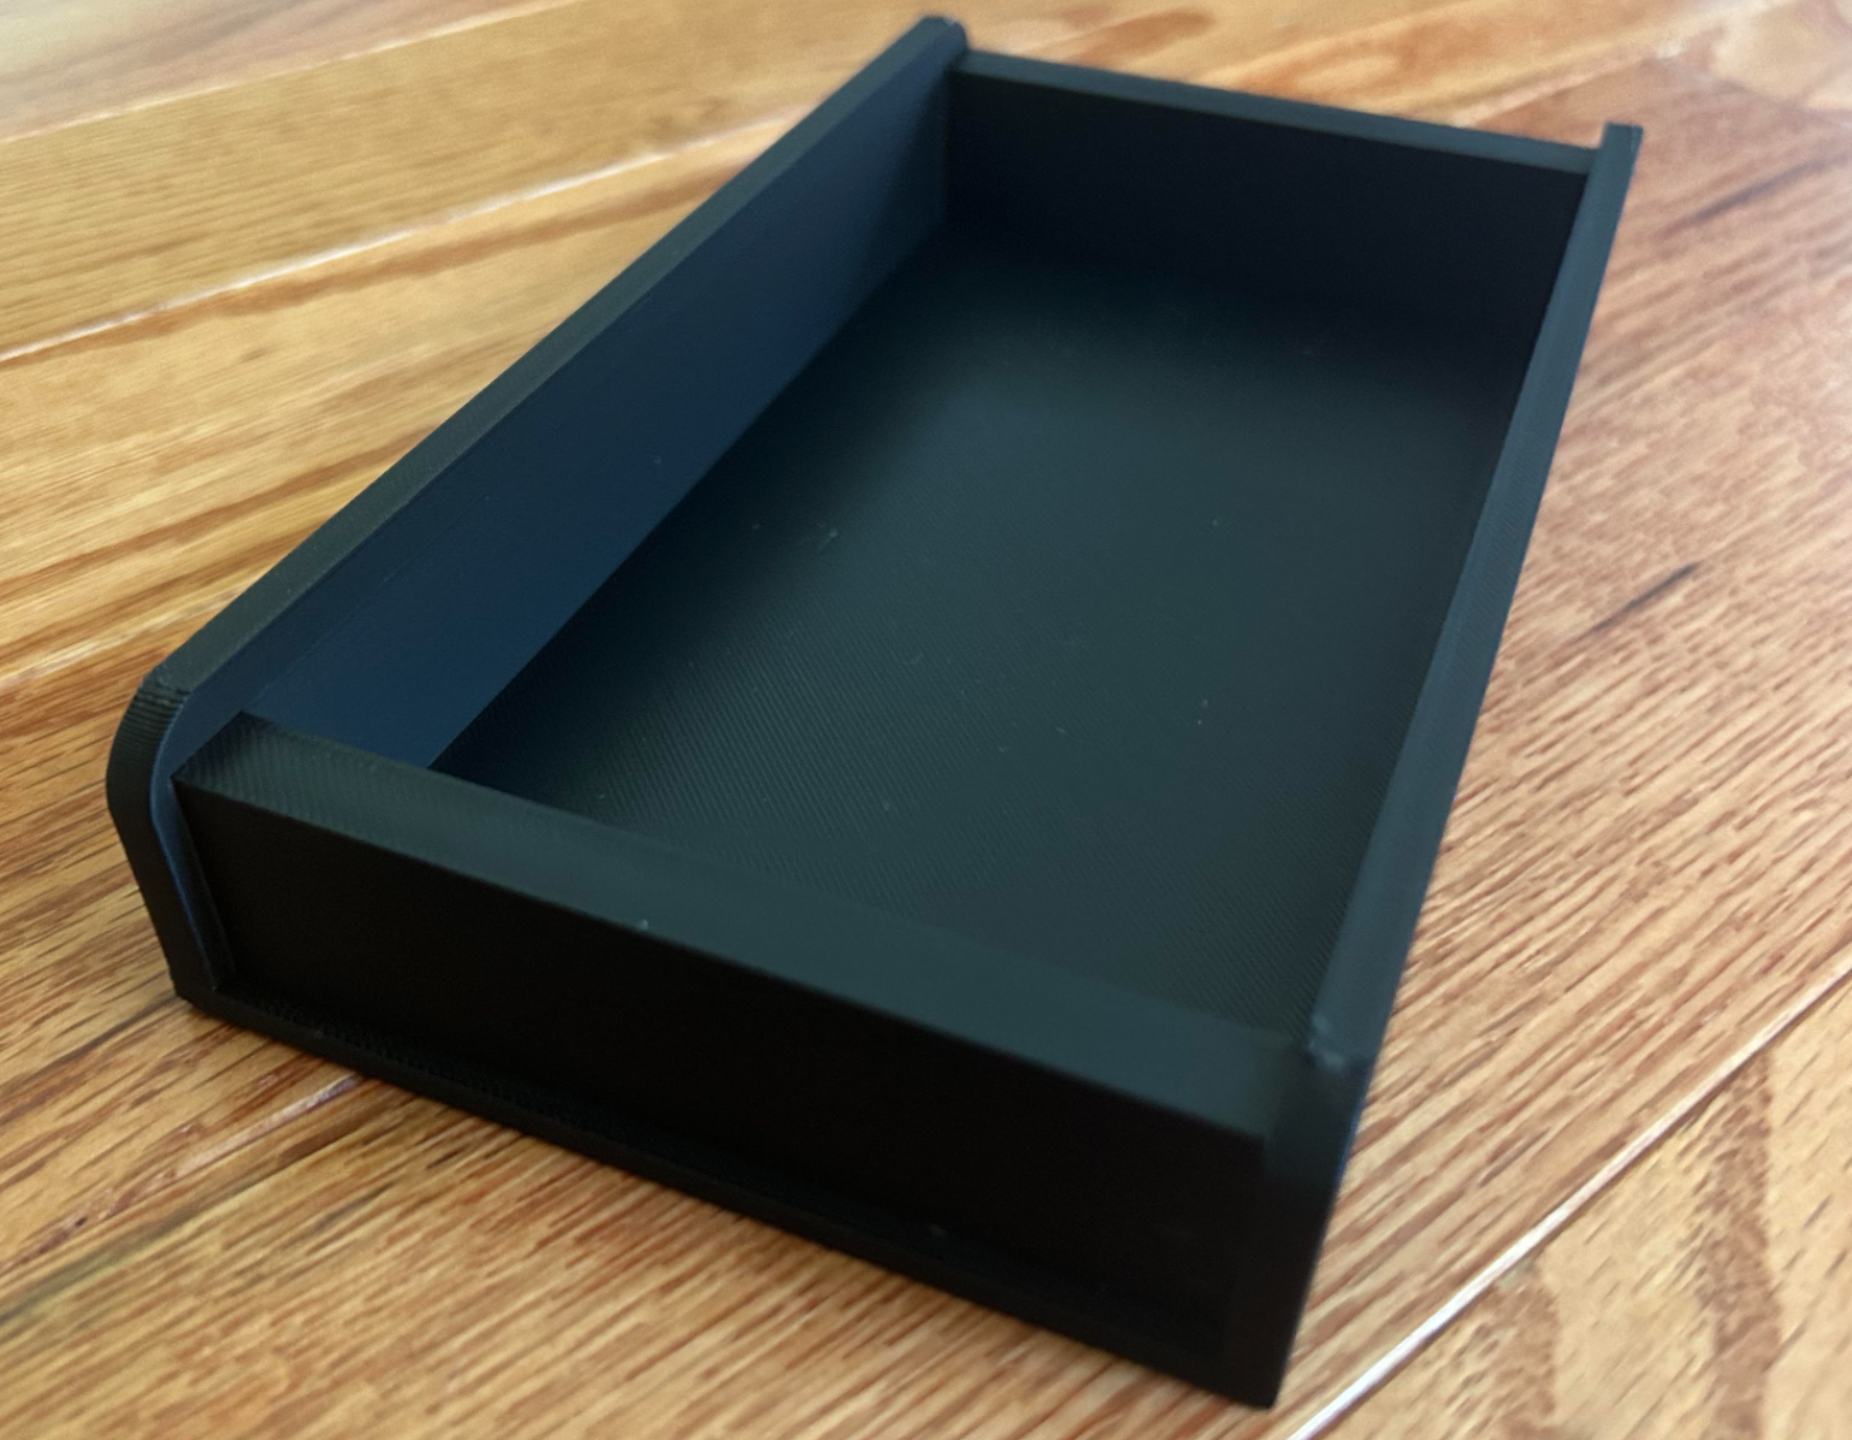
Balolo catch all tray cost a pretty penny, and with postage to Australia, it was out of my reach. However, once again the 3D community comes to the rescue. These trays are exactly the same size and fit. I printed three and have been using it for a few weeks now:
Bathroom stuff
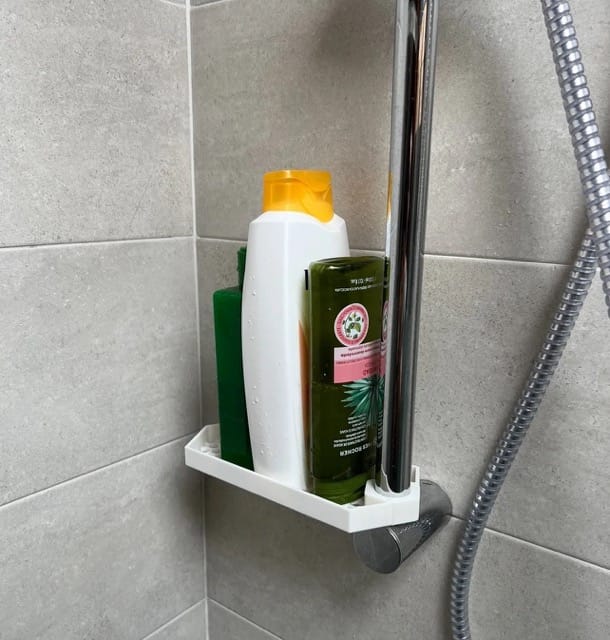
Bathroom tray: I have a cosy (fancy word for small) bathroom and every storage space is accounted for. This shelf is a perfect size and fits like a glove. In addition, the mount is super clever which makes installation easy and adessive free.
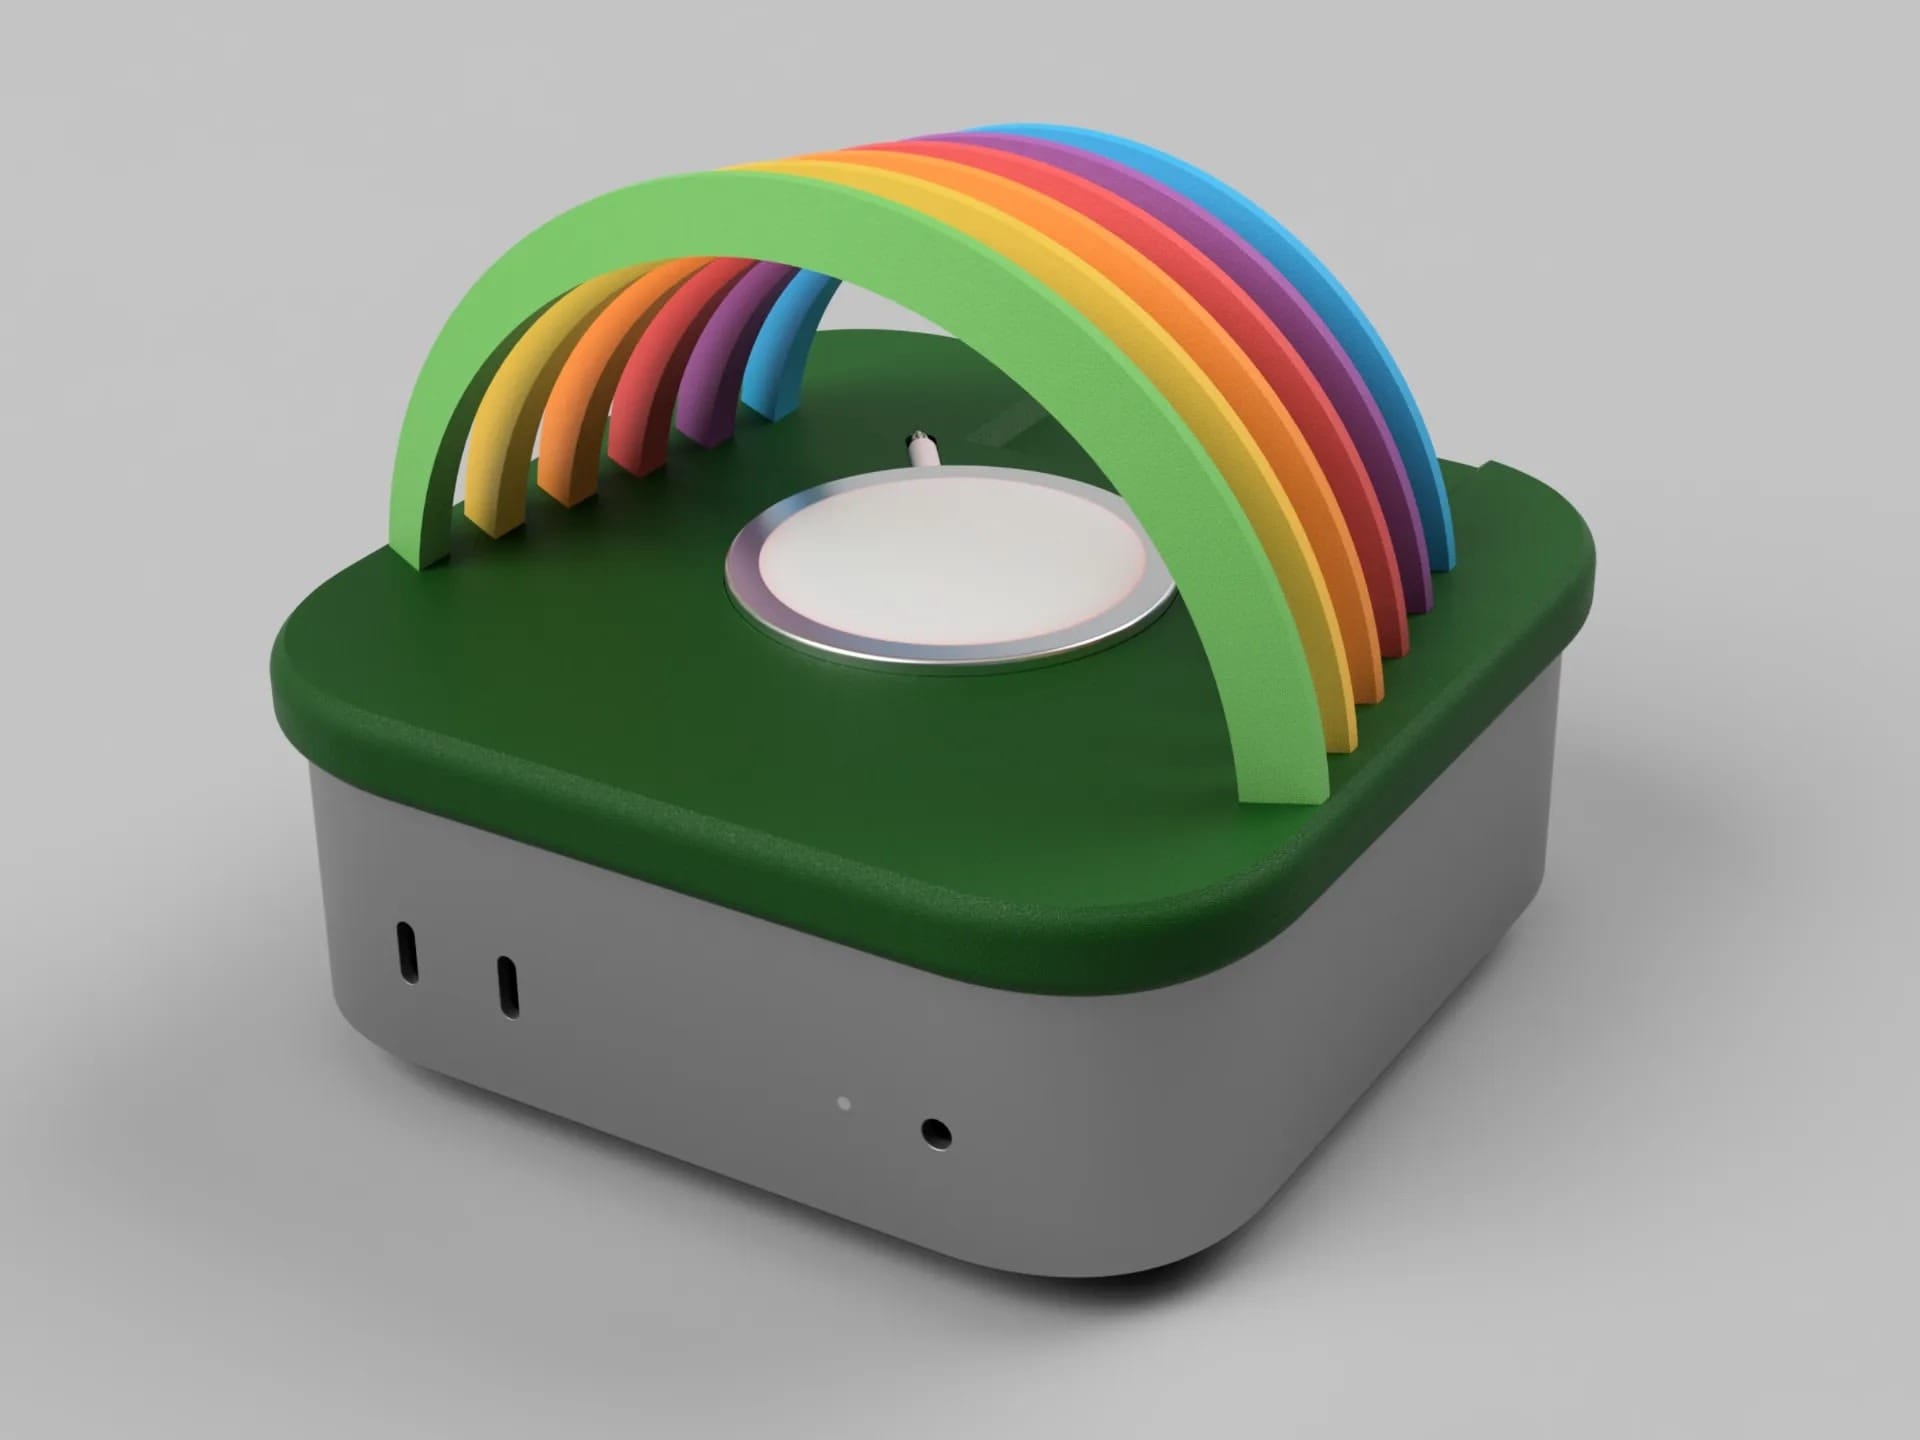
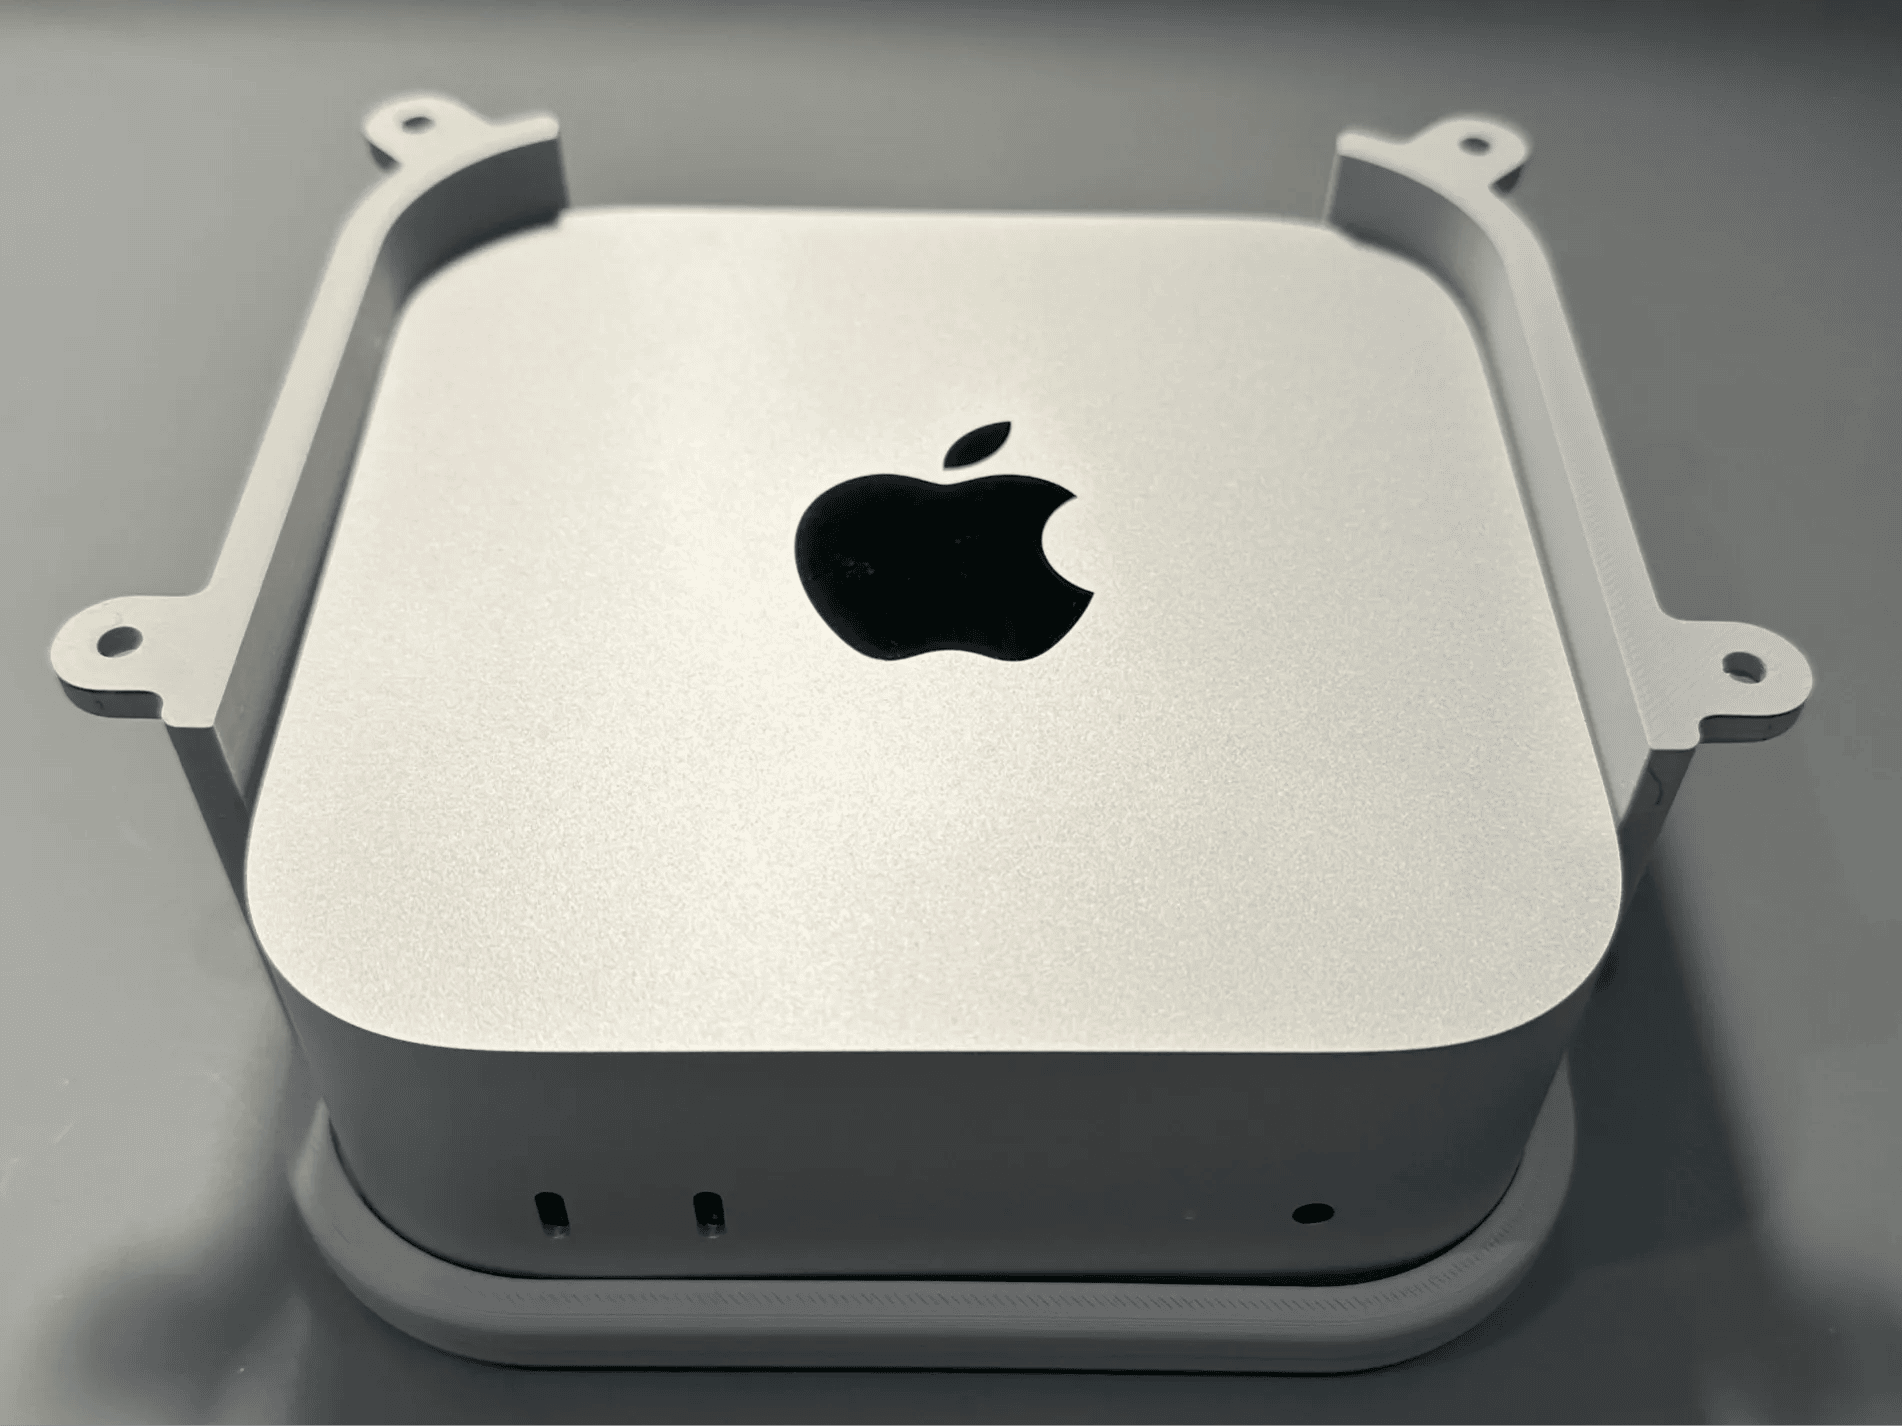
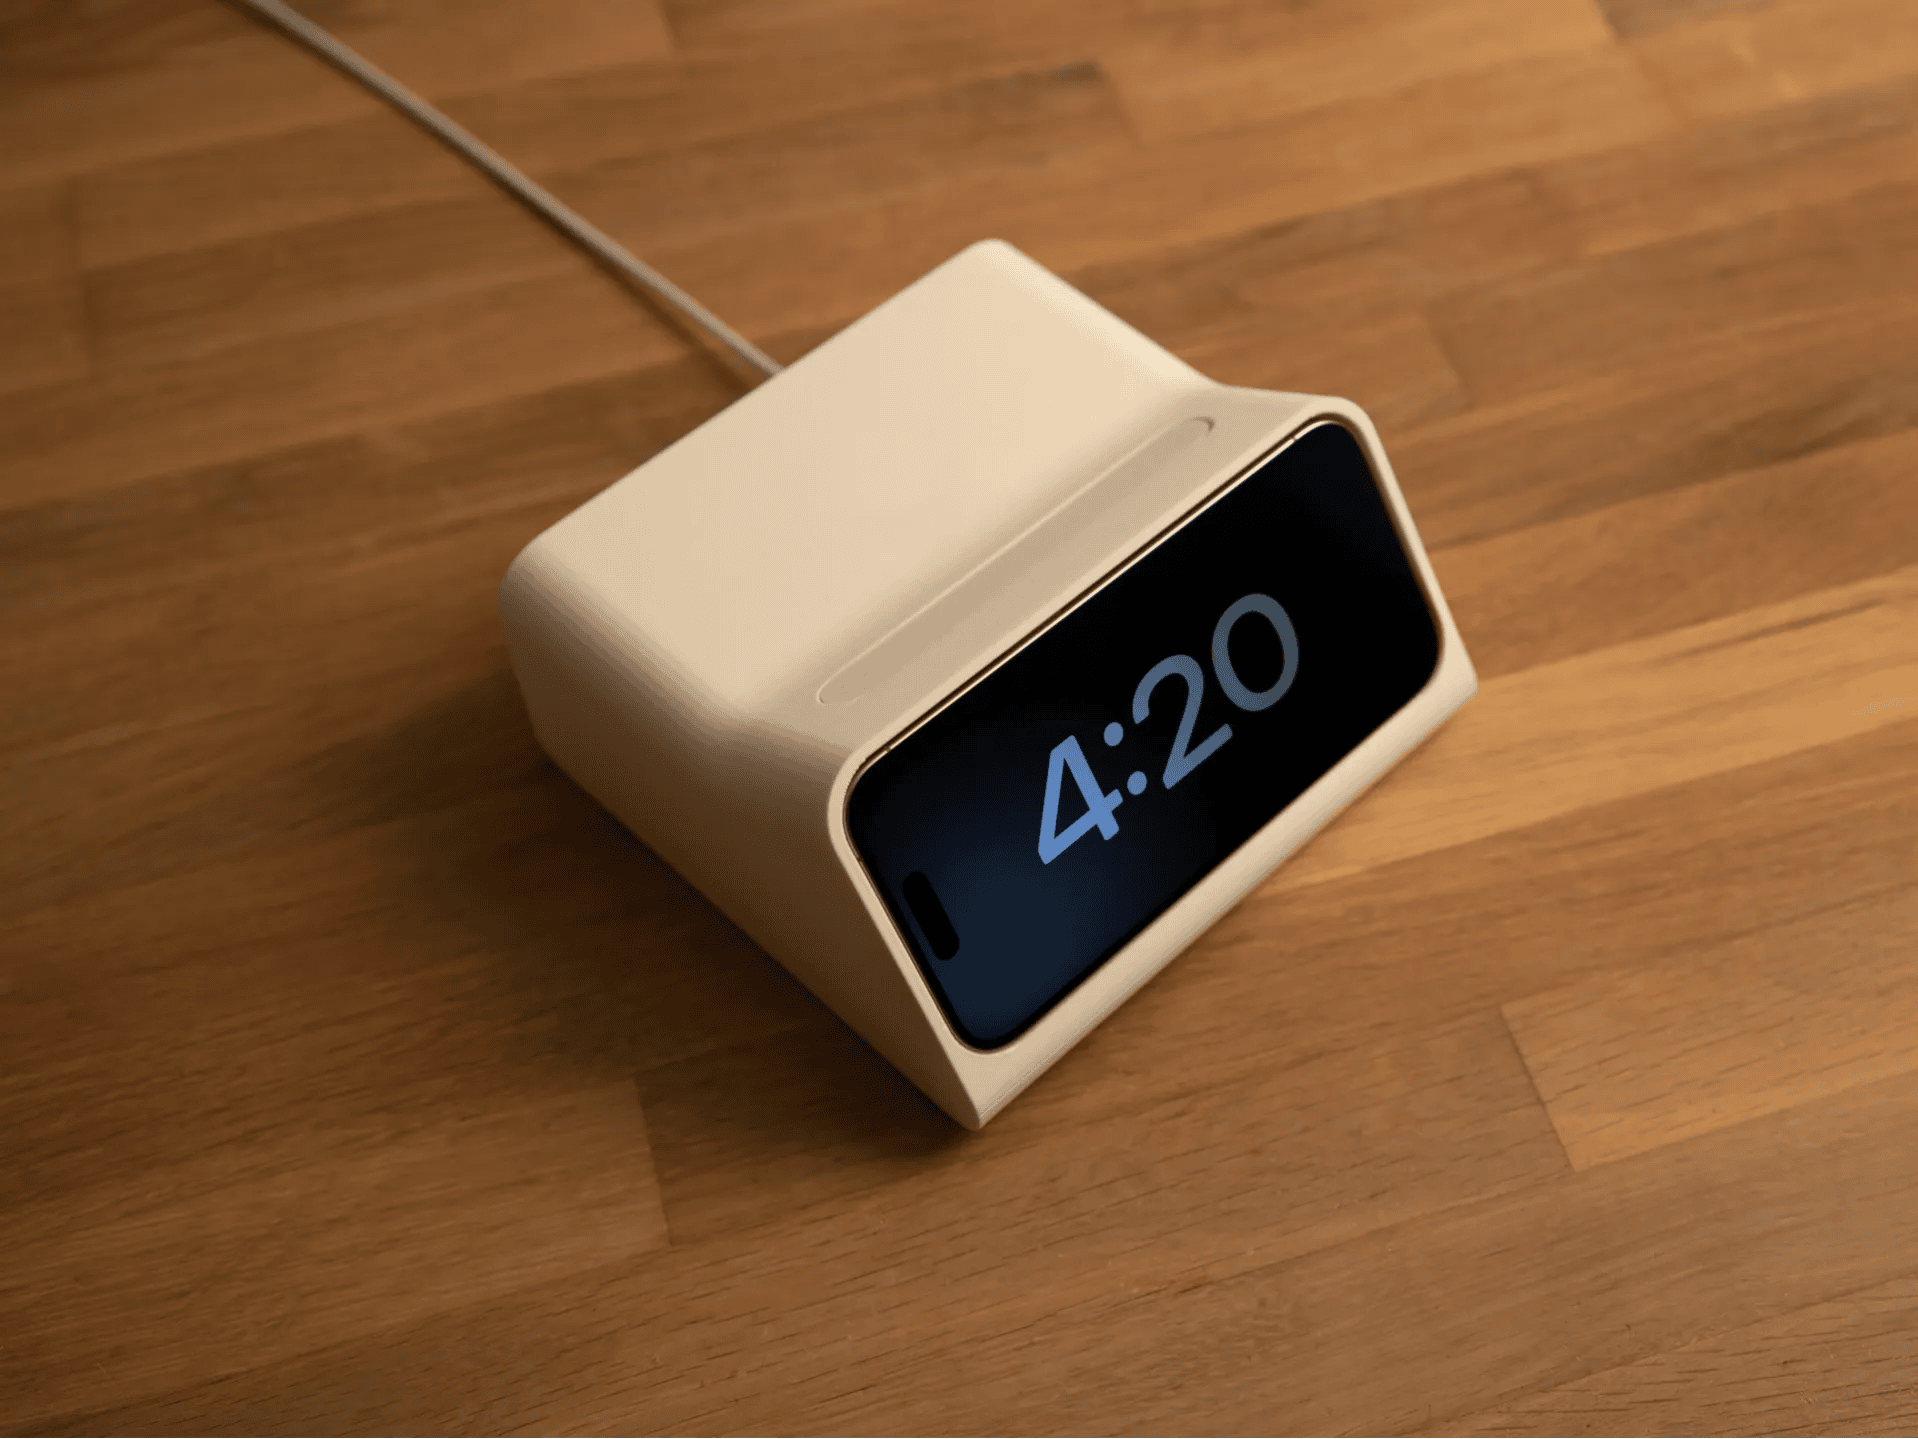
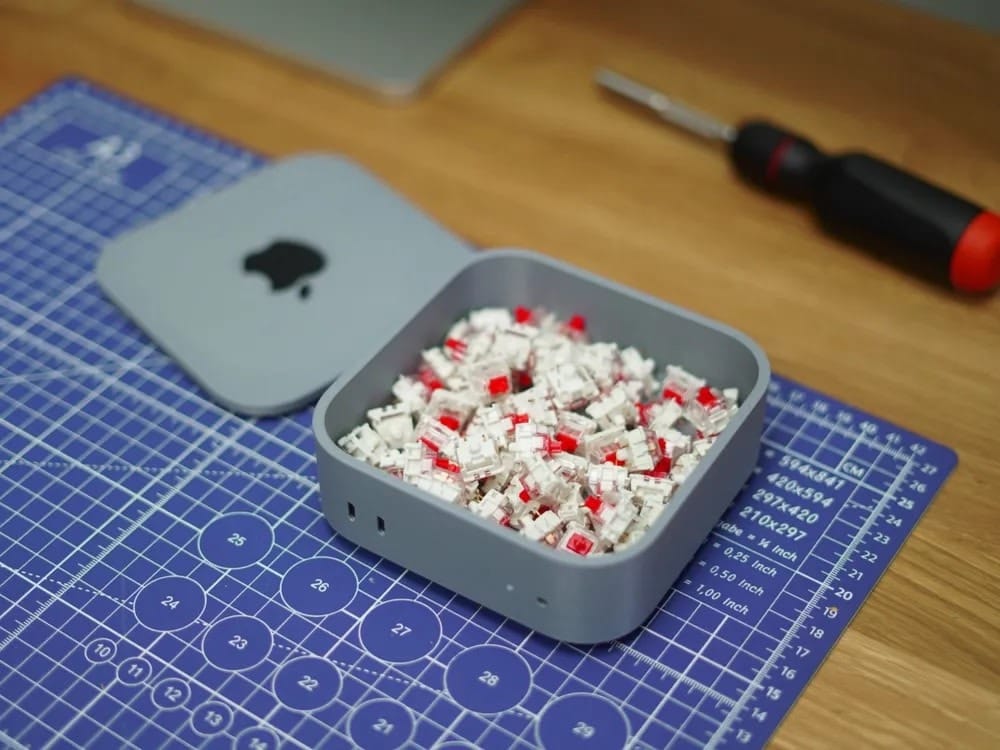
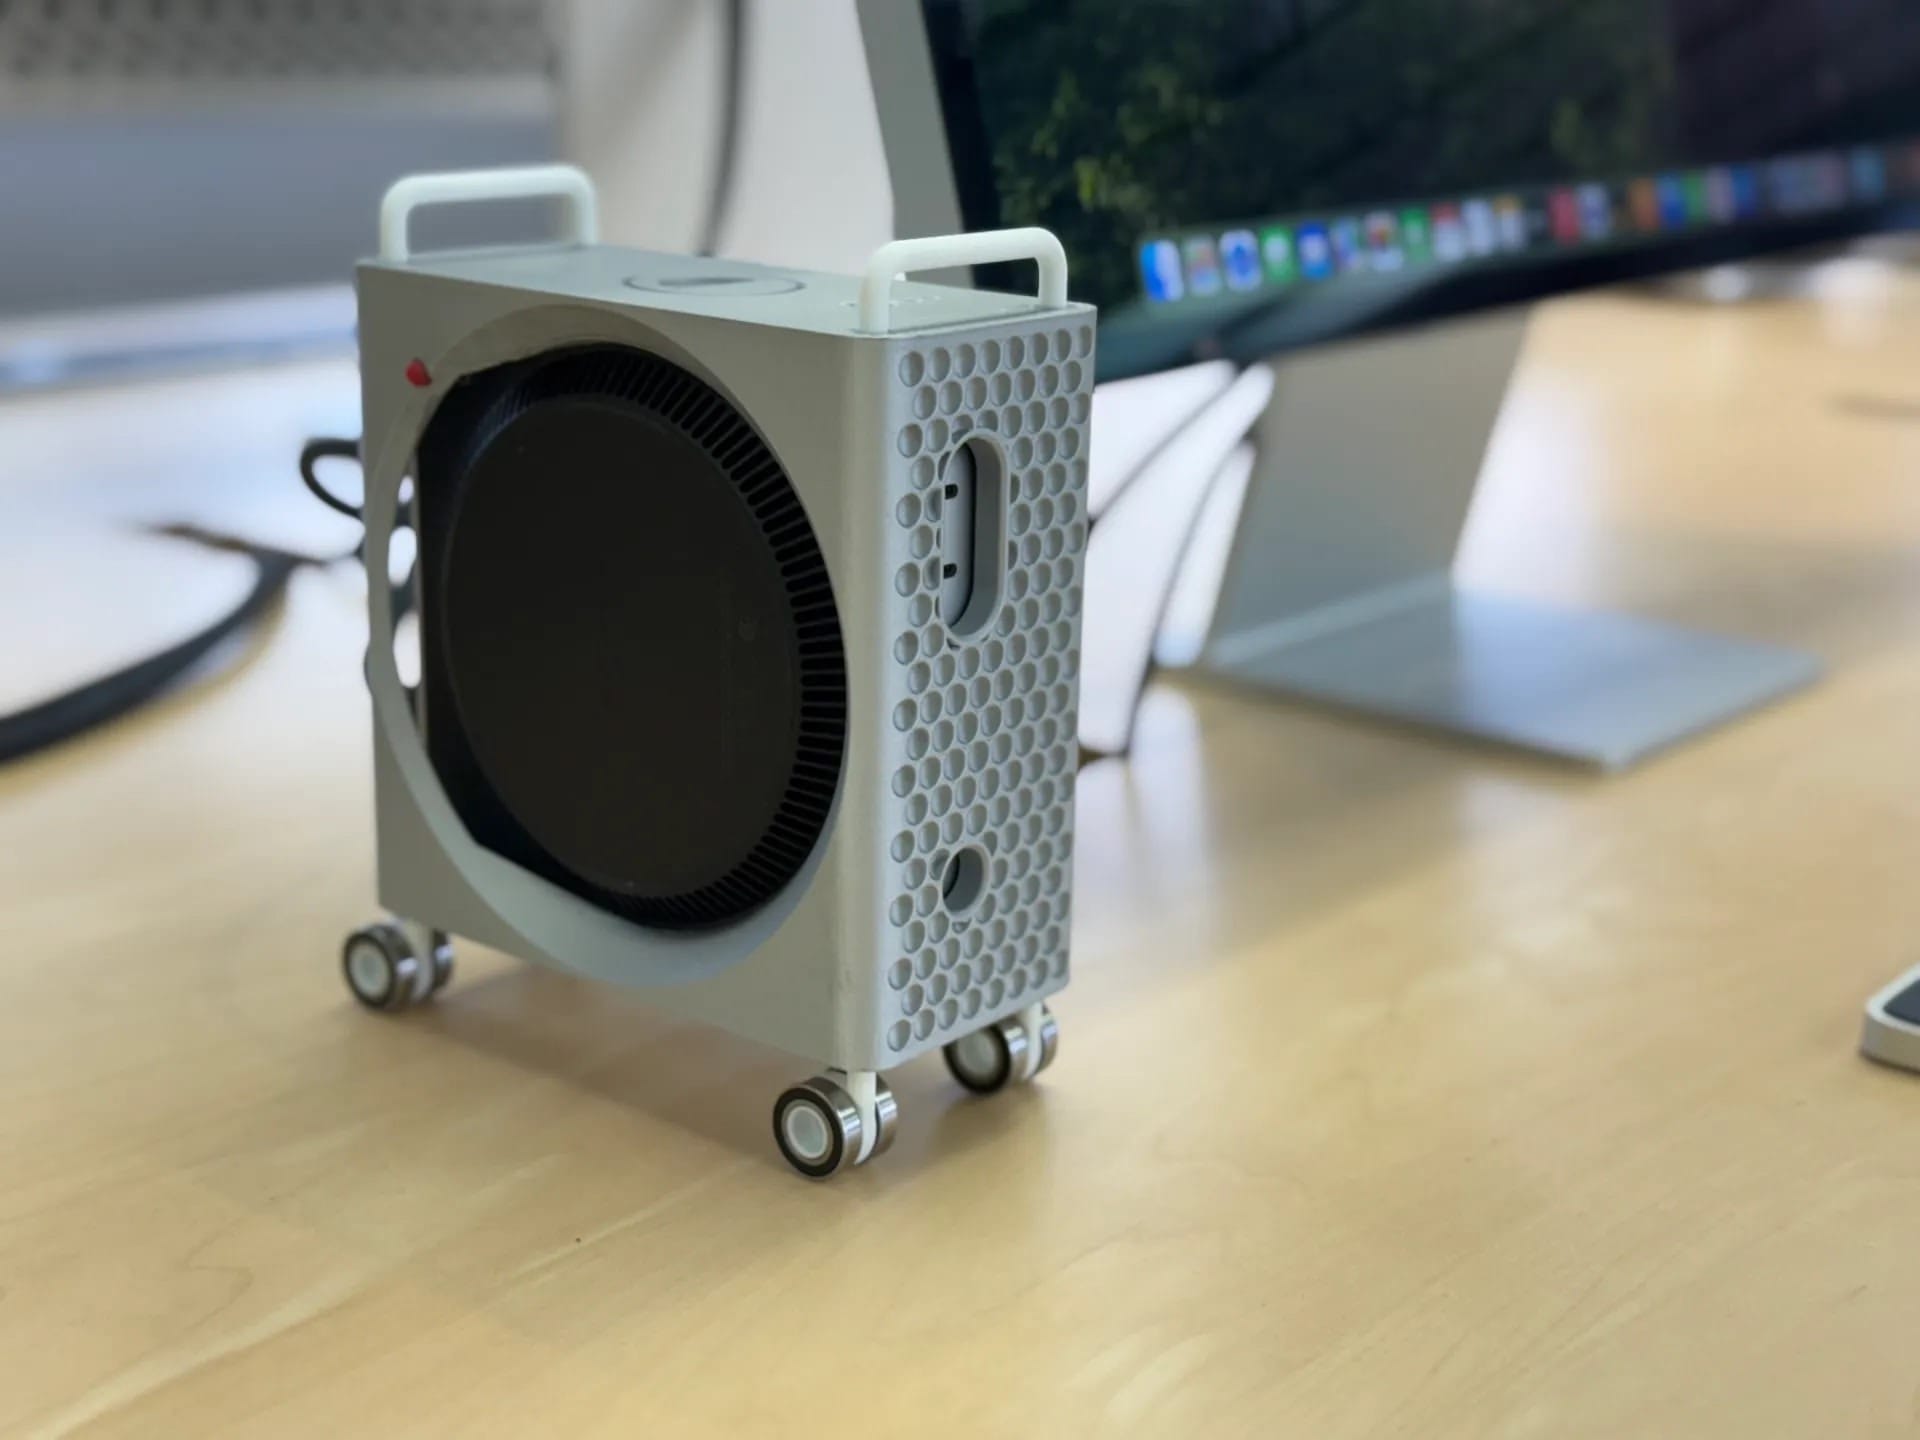
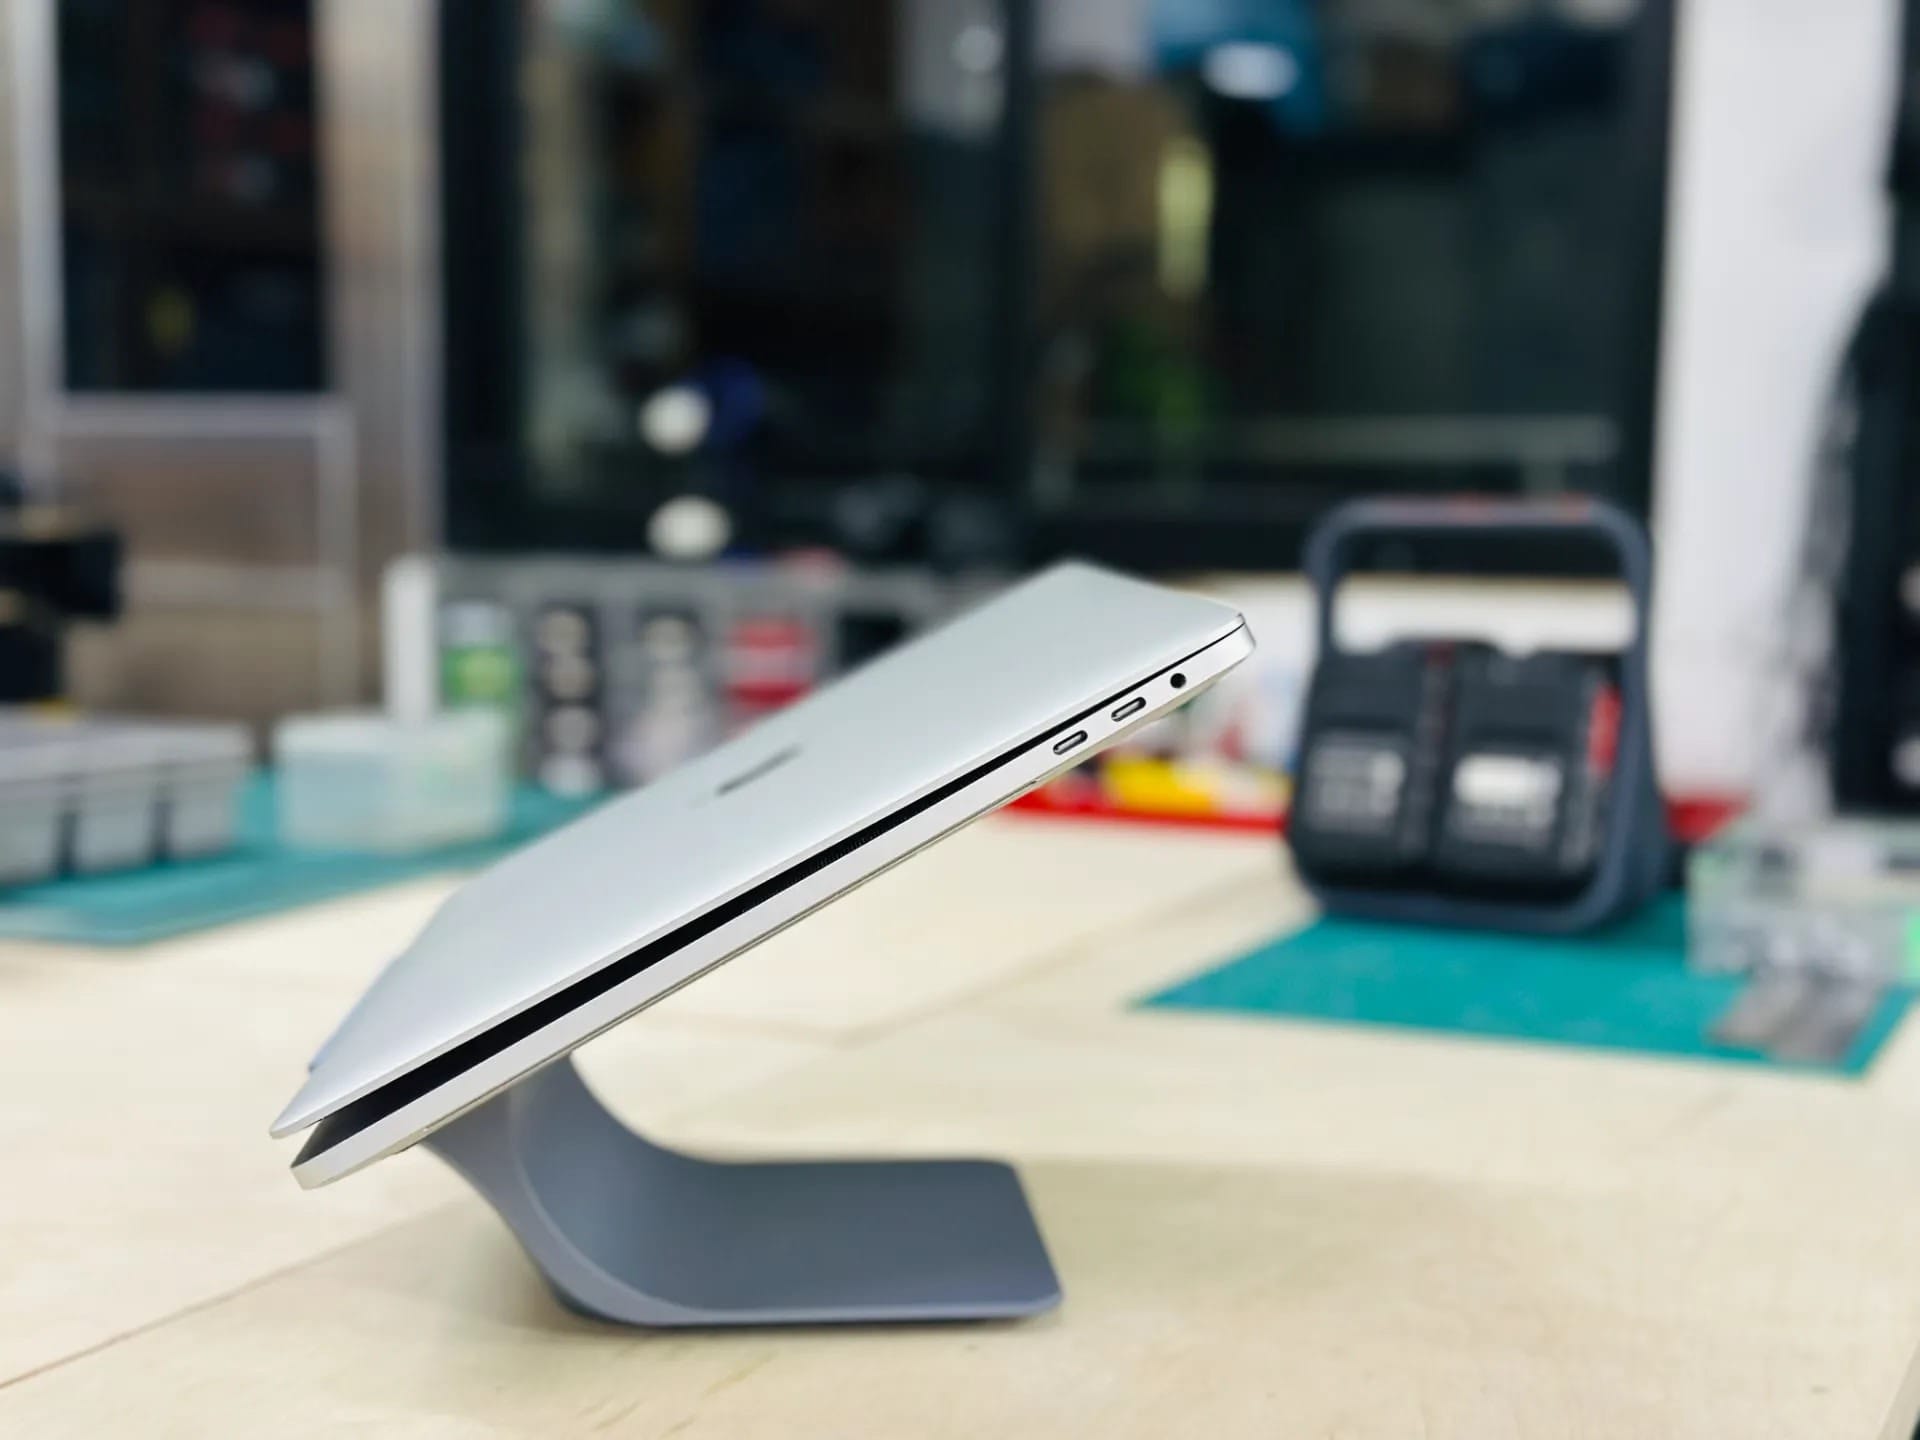
APPLE FAN BOY STUFF
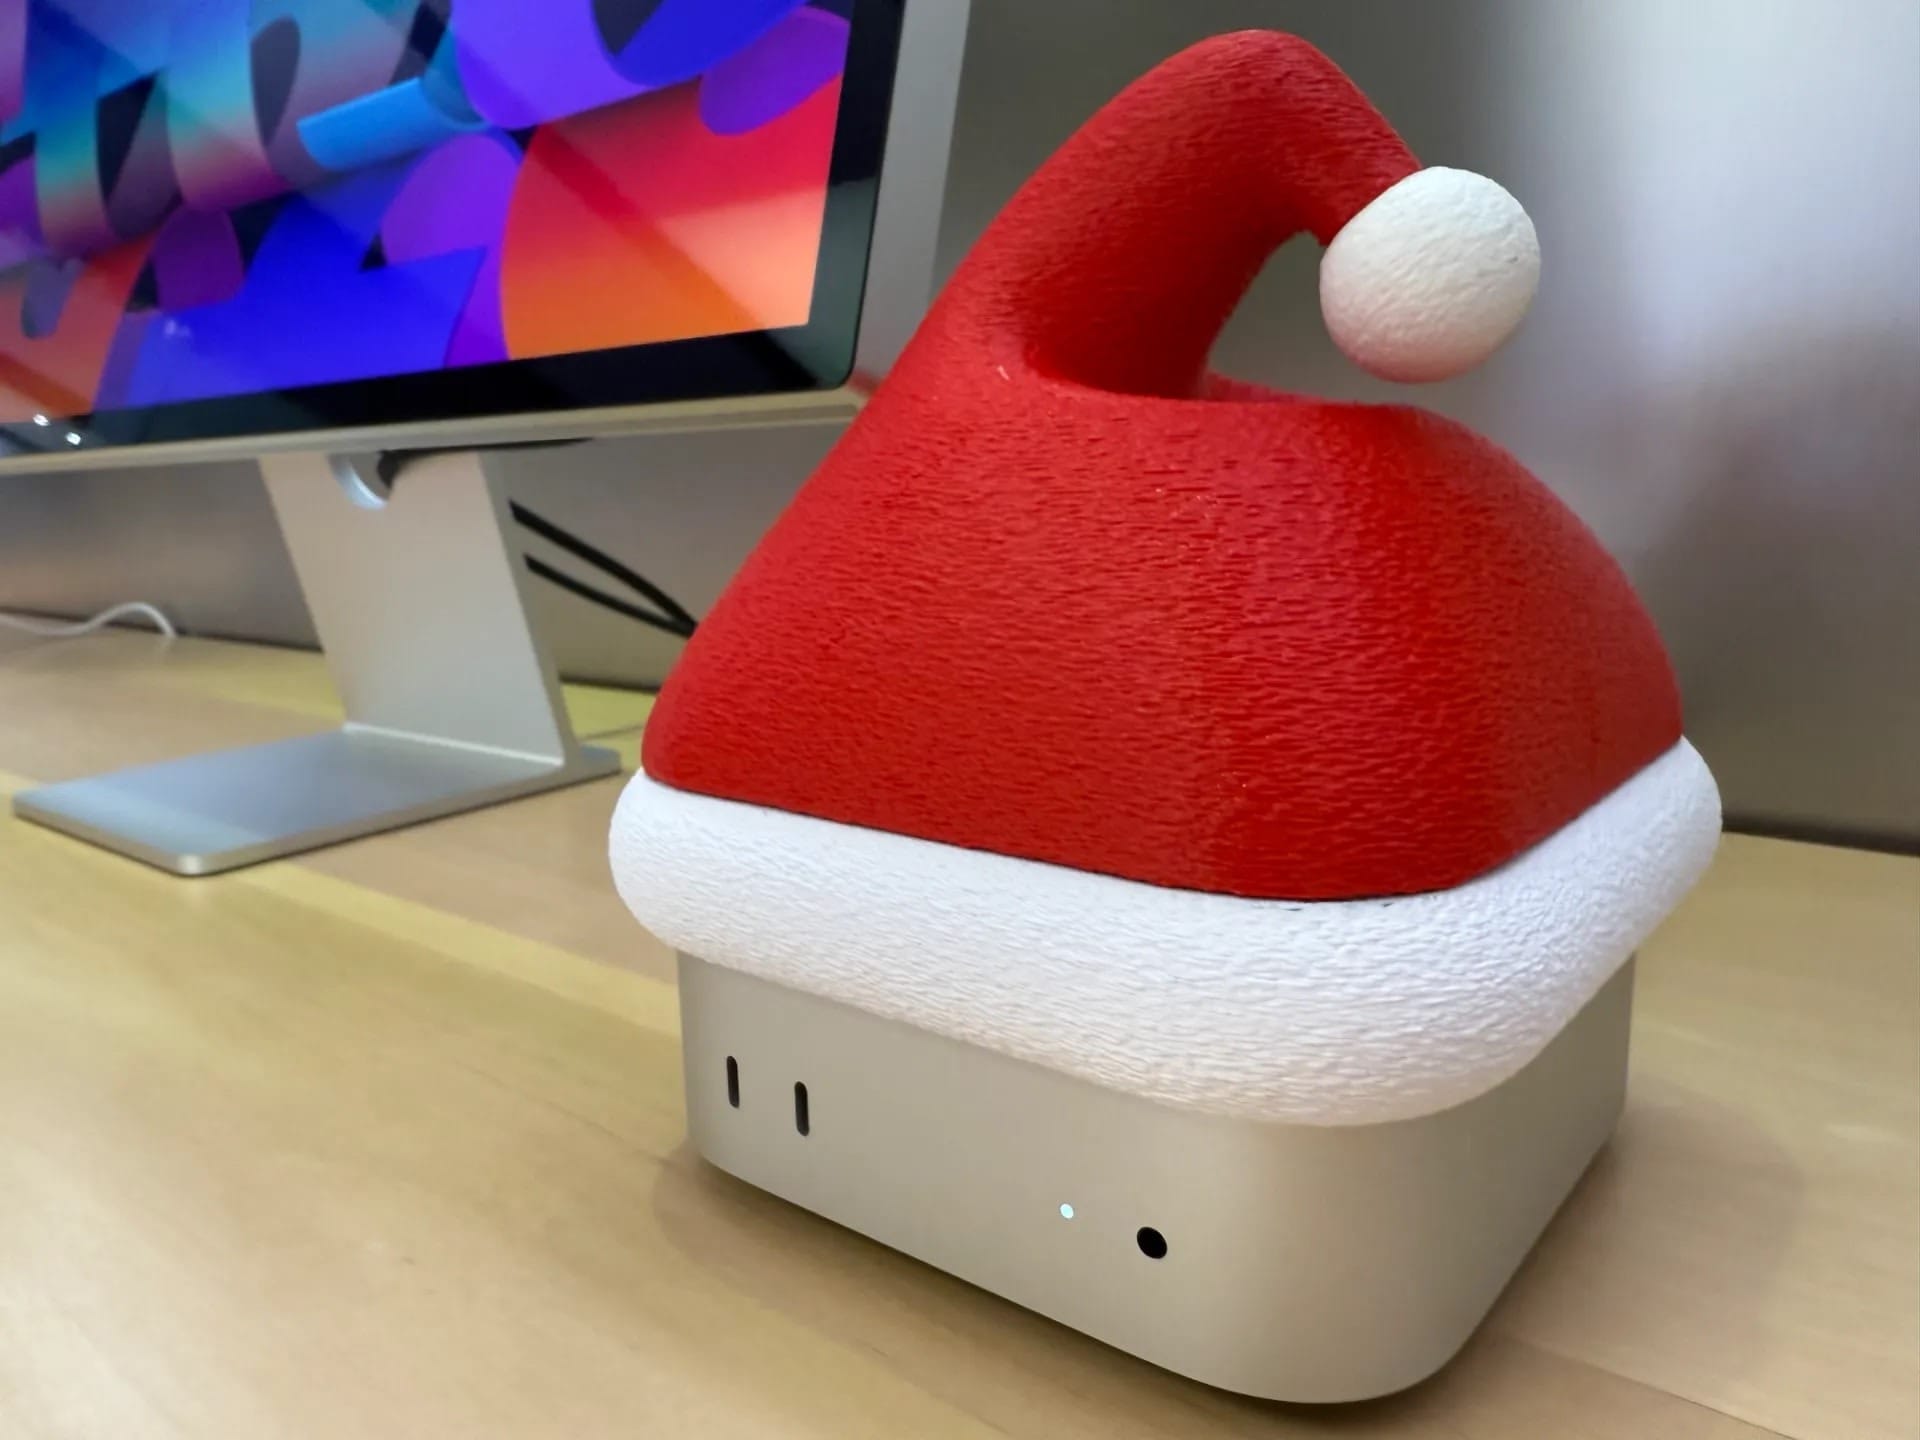
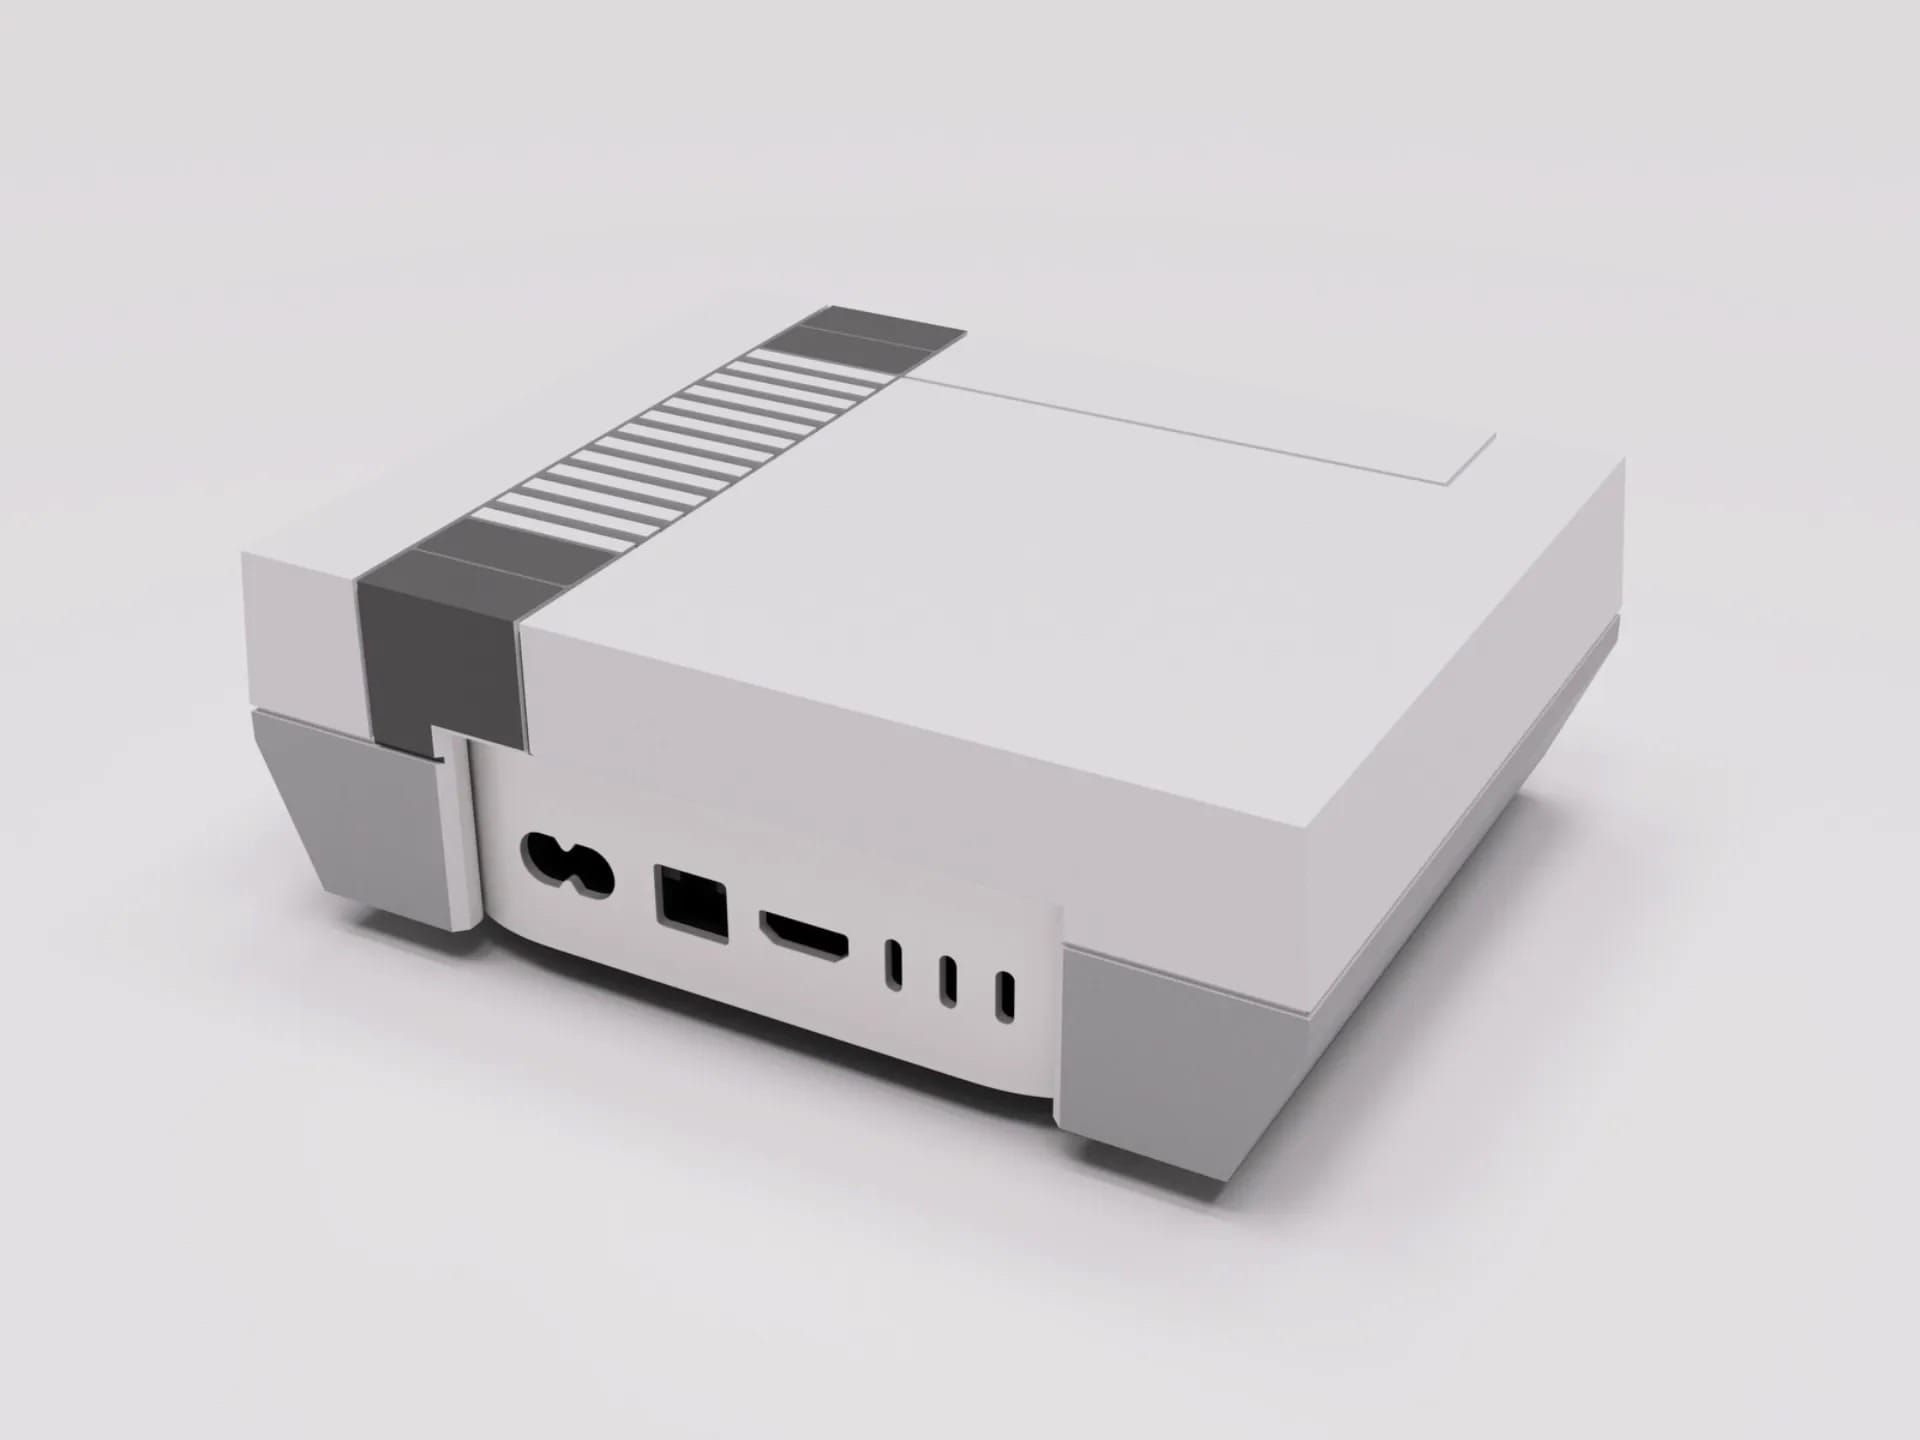
The gallery below will provide an insight into how good the 3d Printing community is for Apple stuff:
Useful things:
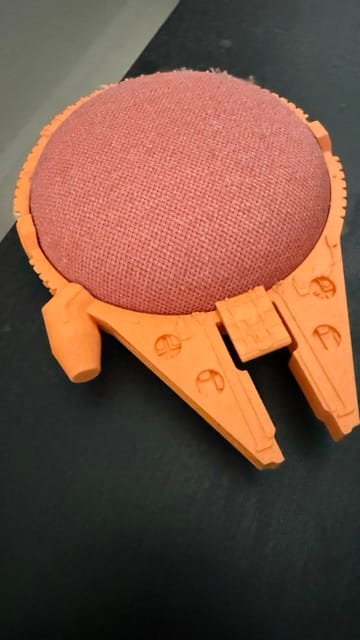
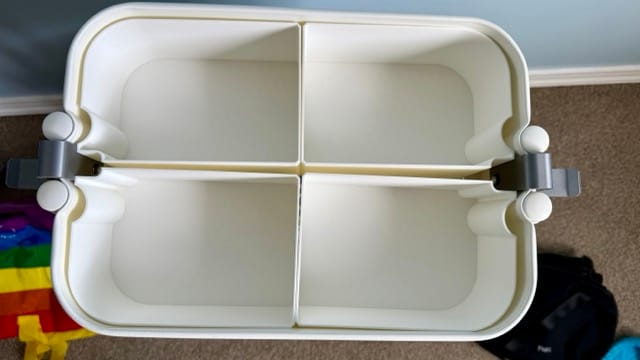
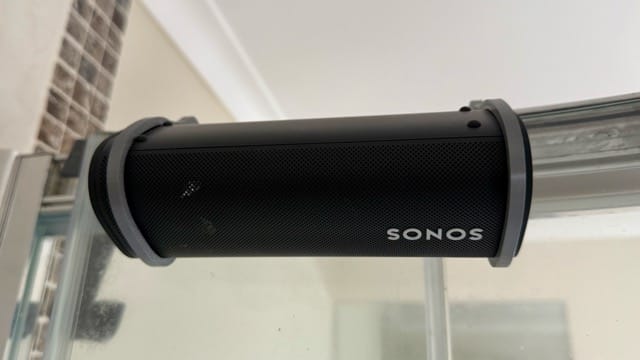
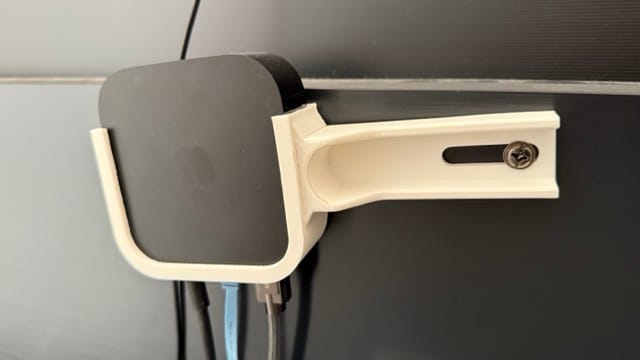
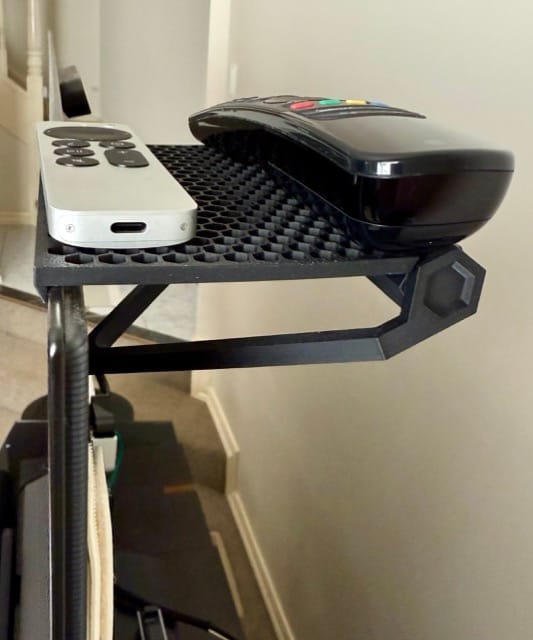
The gallery below showcases pictures taken by yours truly and these include:
- Millennium Falcon Google Home Mini Holder
- Ikea Rashult Trolley inserts and Ikea Rashult Hook
- SONOS Roam pear hooks to mount in bathroom
- Apple TV mount behind the TV
- Adjustable Monitor Shelf which I have attached to my TV to have a place for the remote that is not within my son's reach
Concluding comments:
3D printing has been a delightful hobby, and it is not just for me. My family members have also come on board and regularly send me links to print for them. This is one of those tech purchases that my entire family is enjoying rather than something I am enjoying on my own.
My son's eyes sparkle when I show him a completed 3D printed toy. He finds it fascinating that his father can make things in the garage. Things like spiderman etc. I also 3D printed a name tag for him which is attached on top of the door. Now, his bedroom has his name on it and he shows it to everyone who comes home. Additionally, I have printed a few charms for his crocs. While at it, I also printed a few charms for my crocs. Yes, I am one of those guys who wears crocs, only because my son wanted his father to wear matching shoes. But, I like them too now.
My 3D printing journey has just started and I am sure, eventually, the honeymoon period will end and at which point, my printing will probably end up for things I really need.
Right now, I am printing anything that I find fun, whimsy and just joyful. In my humble view, there is absolutely nothing wrong with that.
Finally, I leave you with my 3D printer setup in my garage:
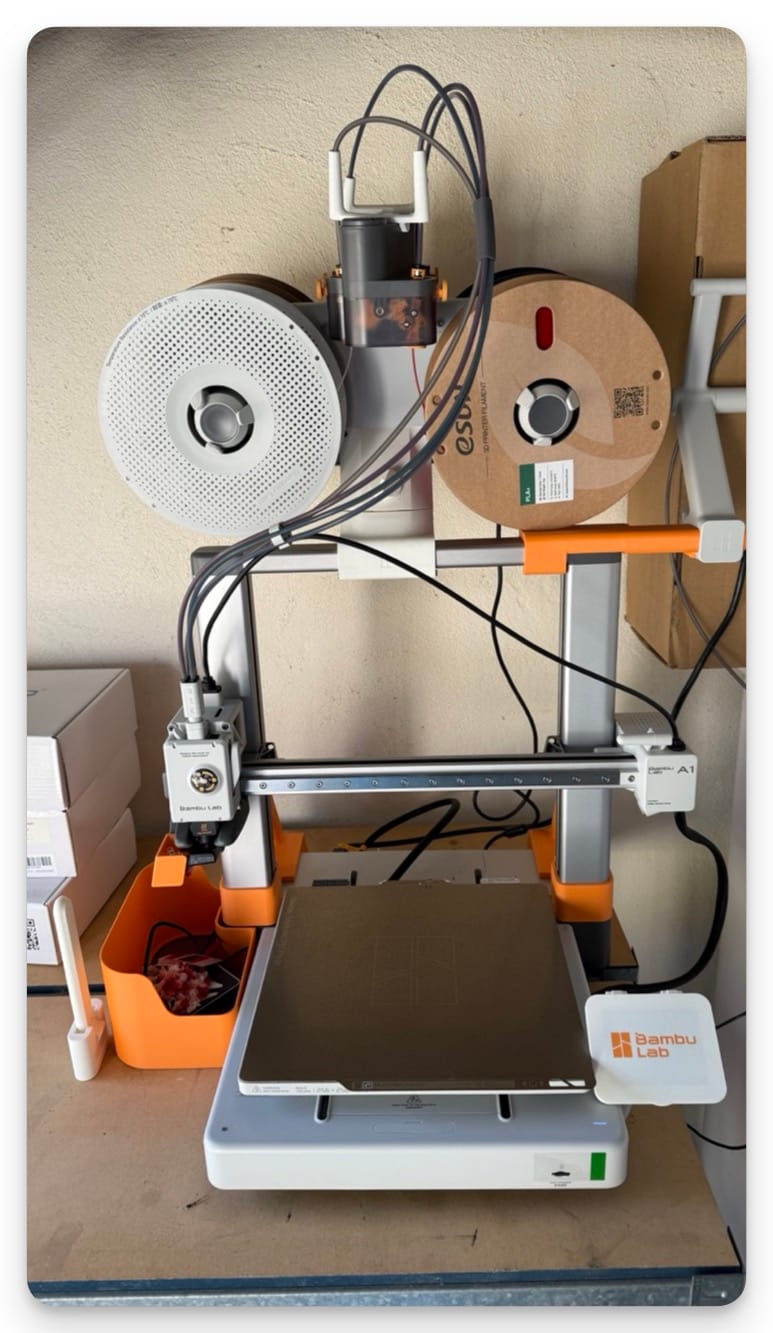
I have seen many youtubers have their 3D printers in their home office. I cannot do that. The noise will annoy me so much.
This blogpost took a lot longer than anticipated and spent a lot of time in the draft folder. I do not know why.. struggled to put pen on paper....
Post written in Notion and Ghost Editor, using MacBook Pro M1 Max, Surface Pro 11 and Google Pixel 9 Pro Fold.
